Mold Making Tutorial: Old-Growth Cypress Concrete TableTop
We recently visited SureCrete Design Products, a decorative and specialty concrete manufacturer, at their headquarters in Dade City, FL. While there, we did some rubber mold making demos to showcase how flexible molds can be used to create a variety of unique, decorative concrete products. Typical applications include, but are not limited to:
- full countertops & tabletops
- individual countertop or tabletops elements such as sink inserts, decorative edging/trim strips and drain boards
- decorative panels and tiles
- outdoor and indoor furniture
- planters
- textured pool decks, walkways, patios, driveways, stairs, countertops with the use of rubber stamping and texture mats
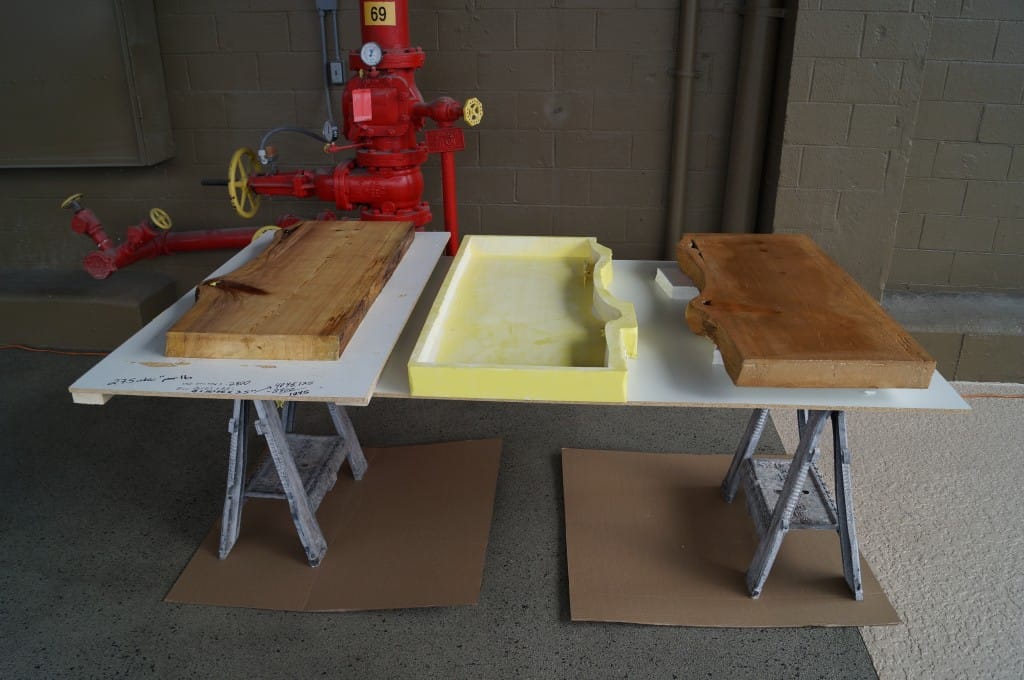
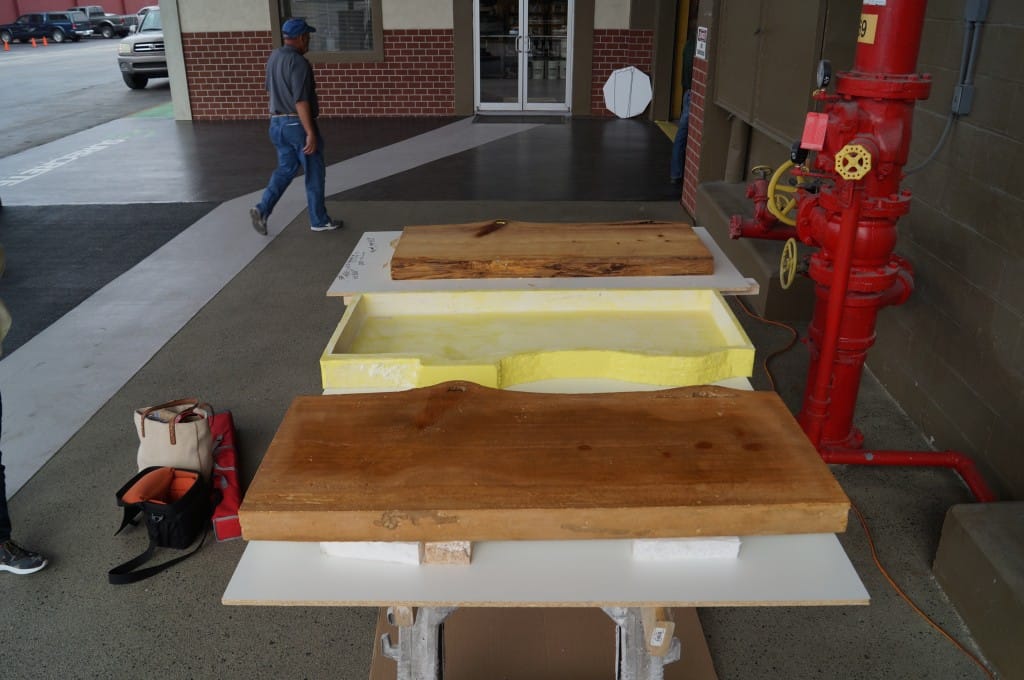
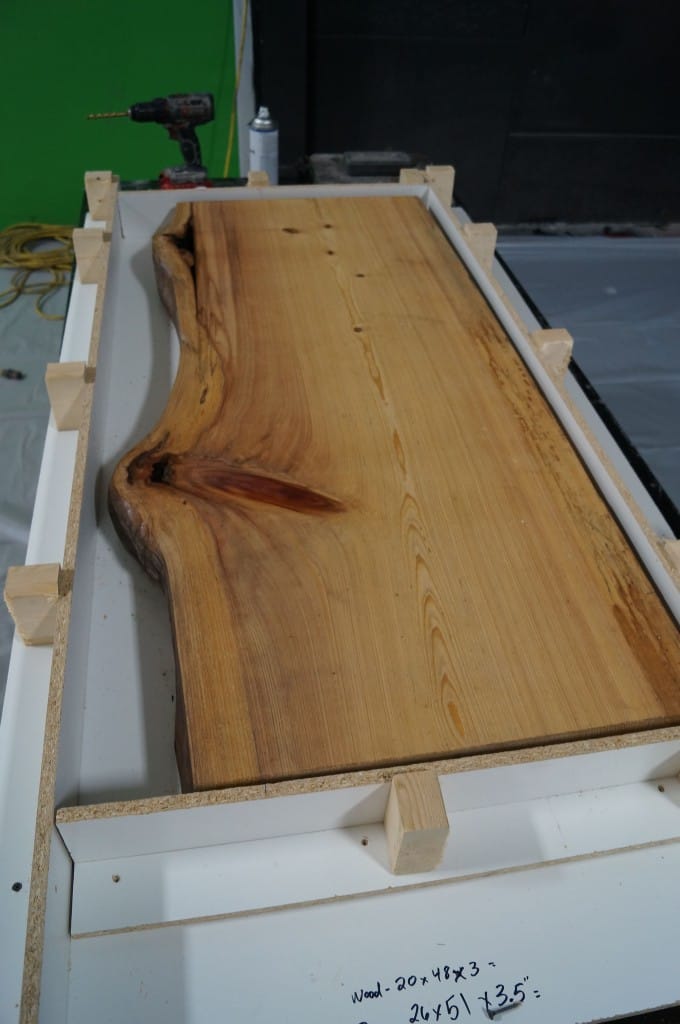
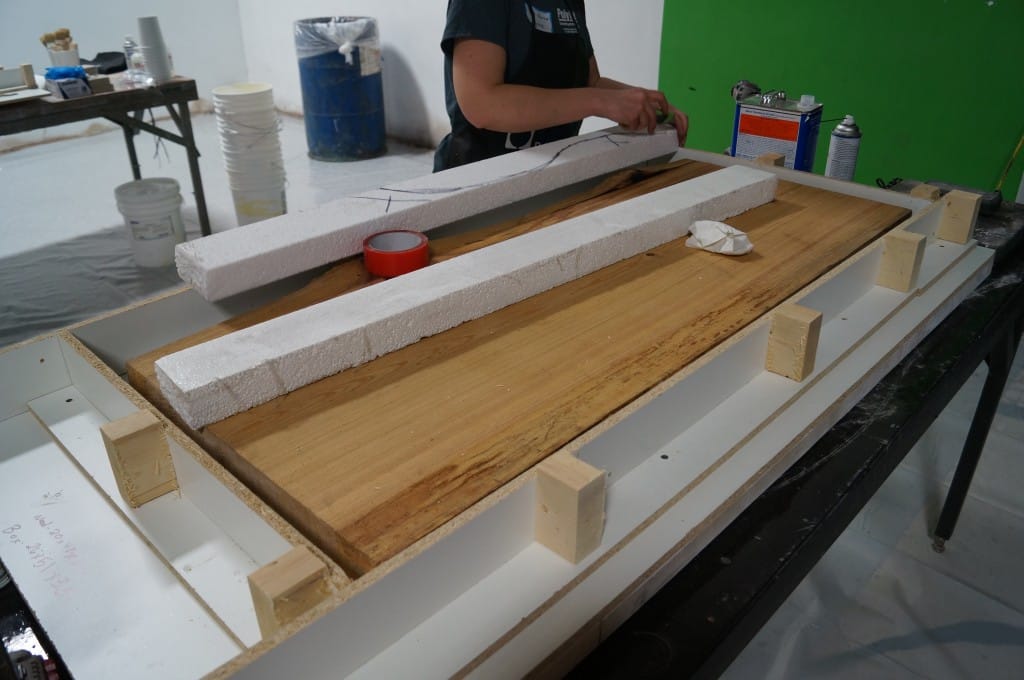
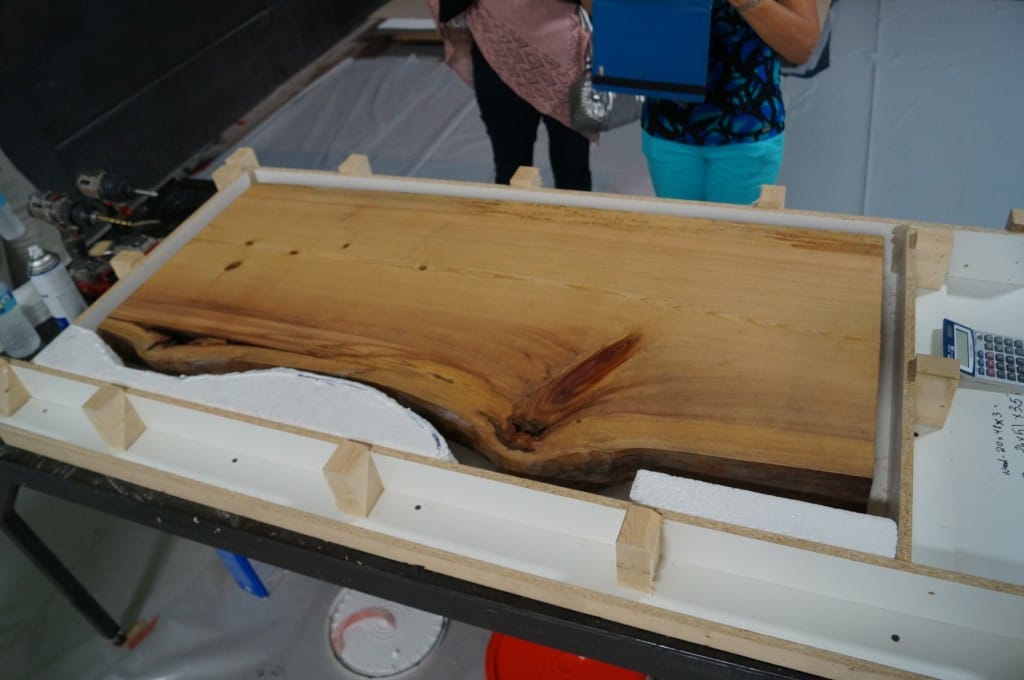
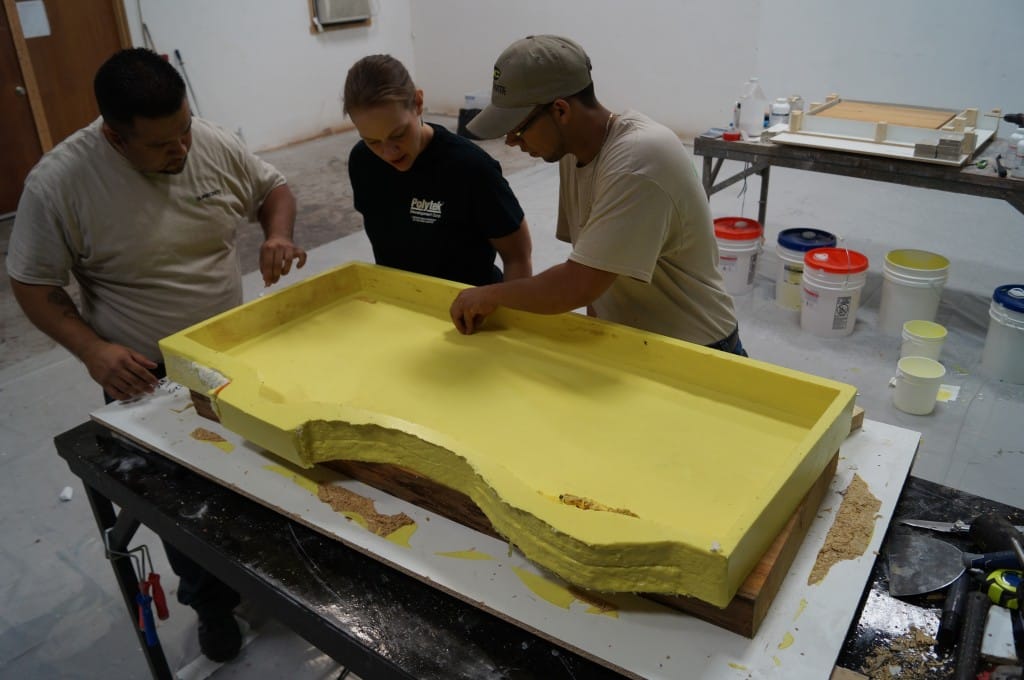
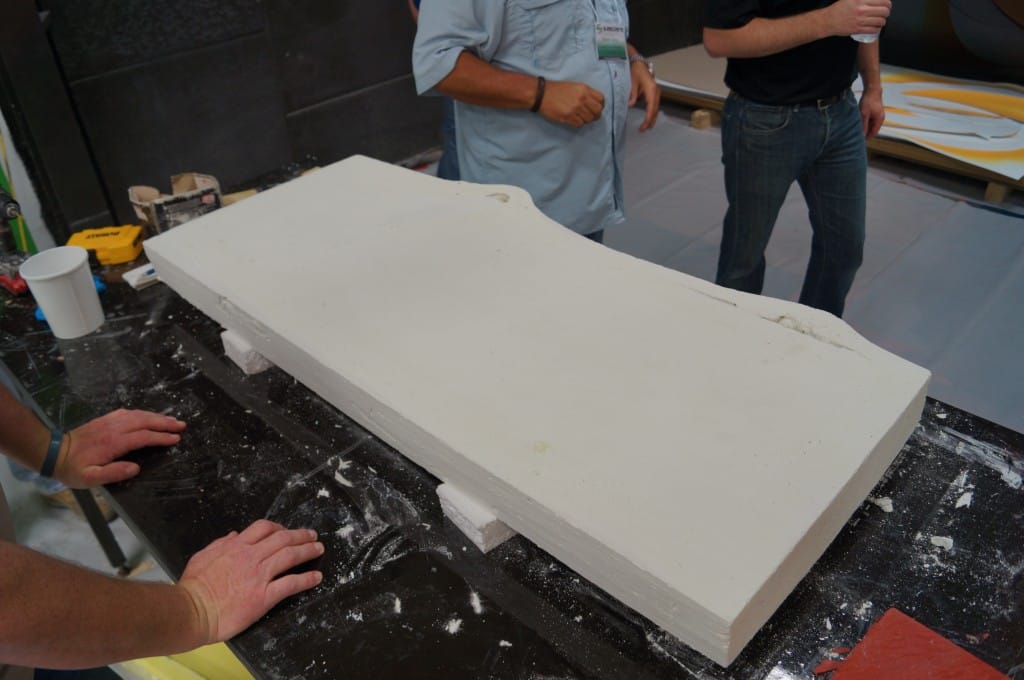
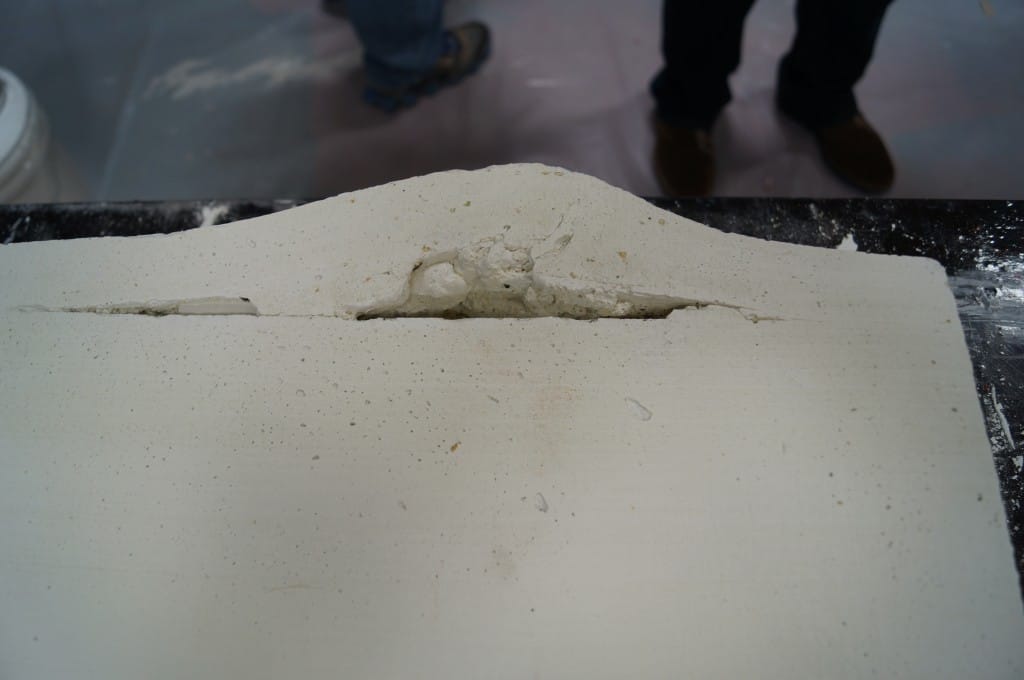
For one demo, SureCrete provided us with a slab of old-growth cypress (pictured below). It was
approximately 48″ x 20″ x 3″ and a “mold box” was already built around it using melamine-laminated particle
board.

Here are the basic steps that we took to make a mold of this model during the 90-minute demo:
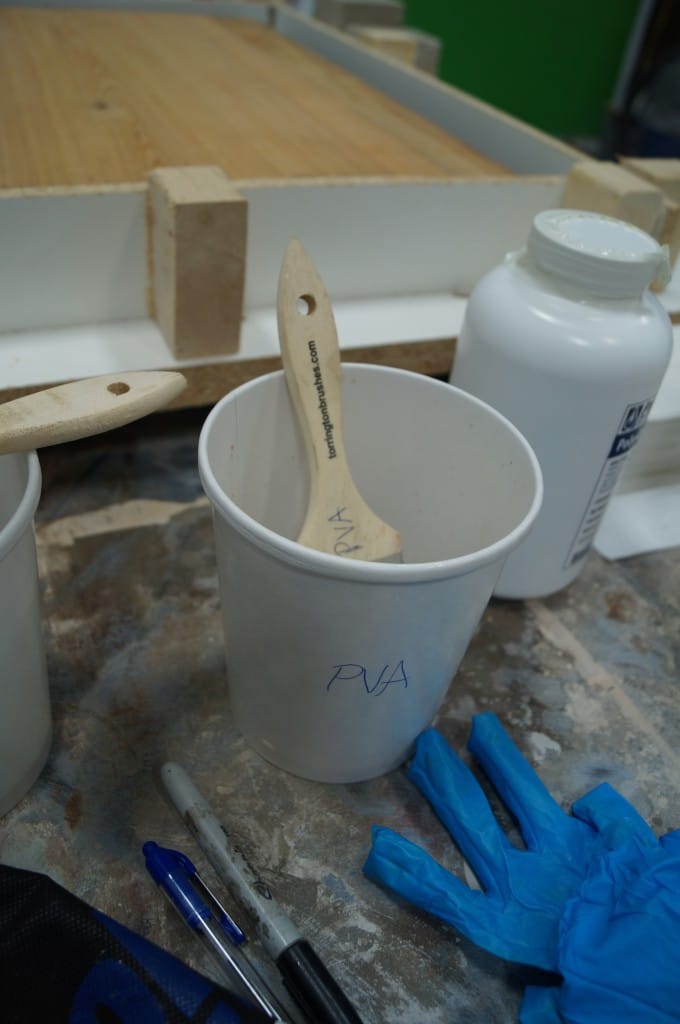
Seal the Model
Porous models must be sealed prior to the mold making process. There are many sealing options available, but we
chose Poly PVA Solution for this model. PVA is a water-soluble solution that can be washed off after the mold
making process and is available in clear and green options.
We applied it by brush and then allowed it
to dry.

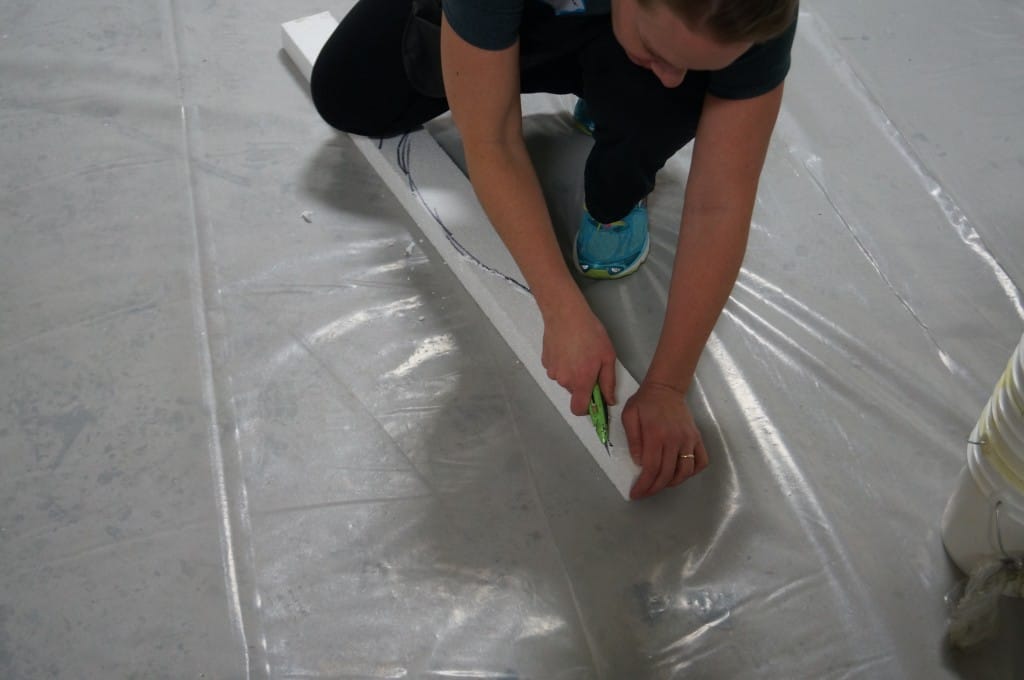
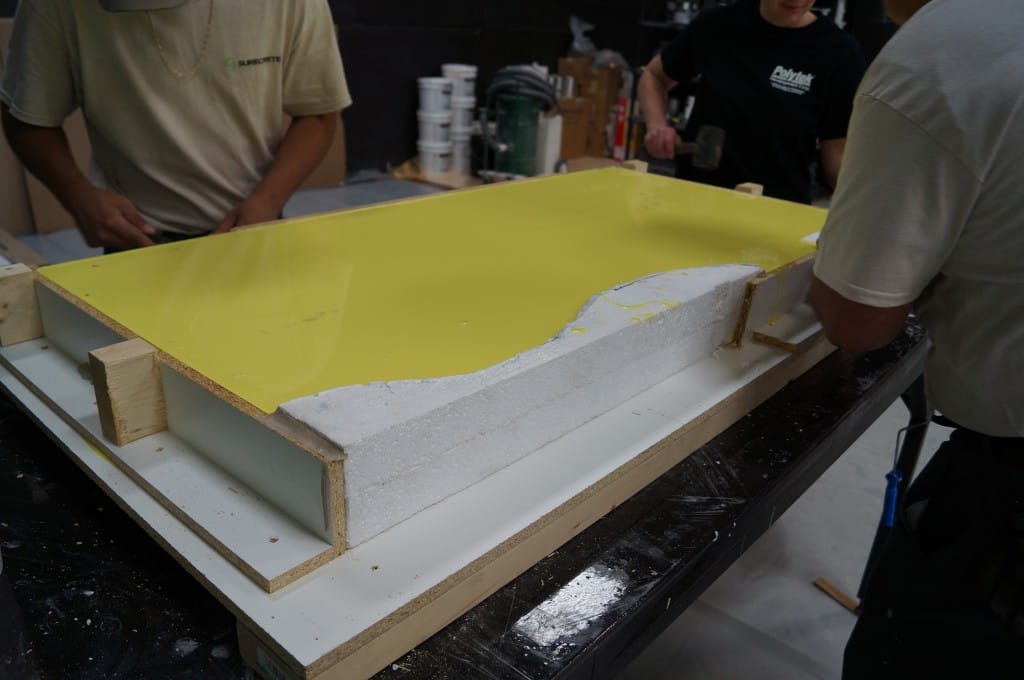
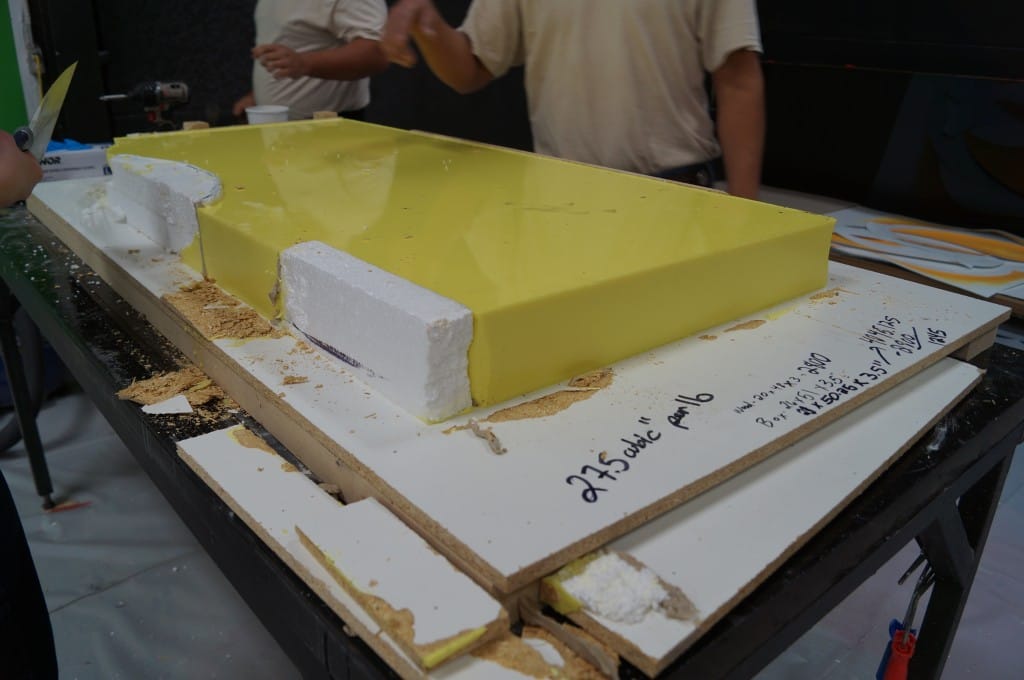
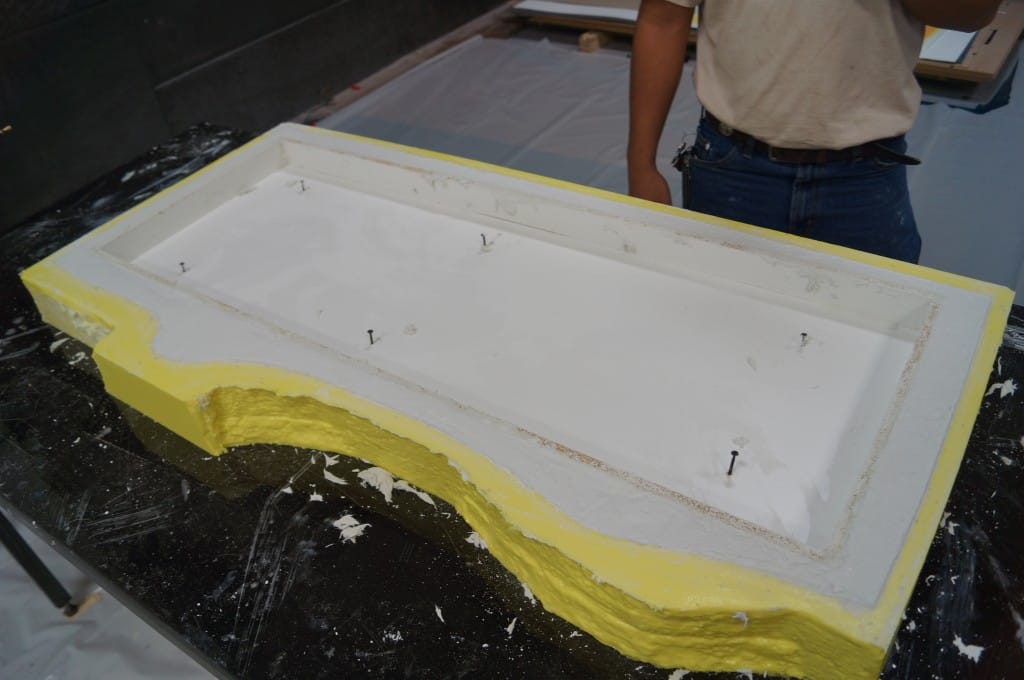
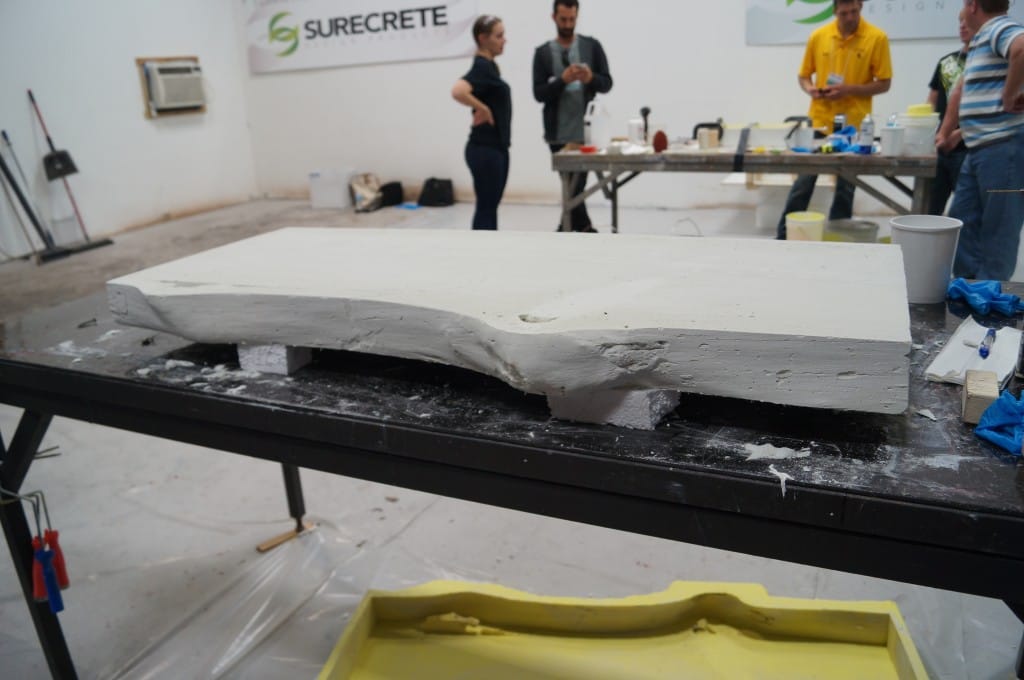
Create Block-Outs
Because of the protrusions on one side of the slab, there are large empty spaces within the mold box.

To cut down on the amount of rubber needed, we cut foam to block out those spaces.
We coated the foam in EasyFlo 60 liquid plastic (thickened with PolyFiber II) to give it a smoother,
non-porous surface.

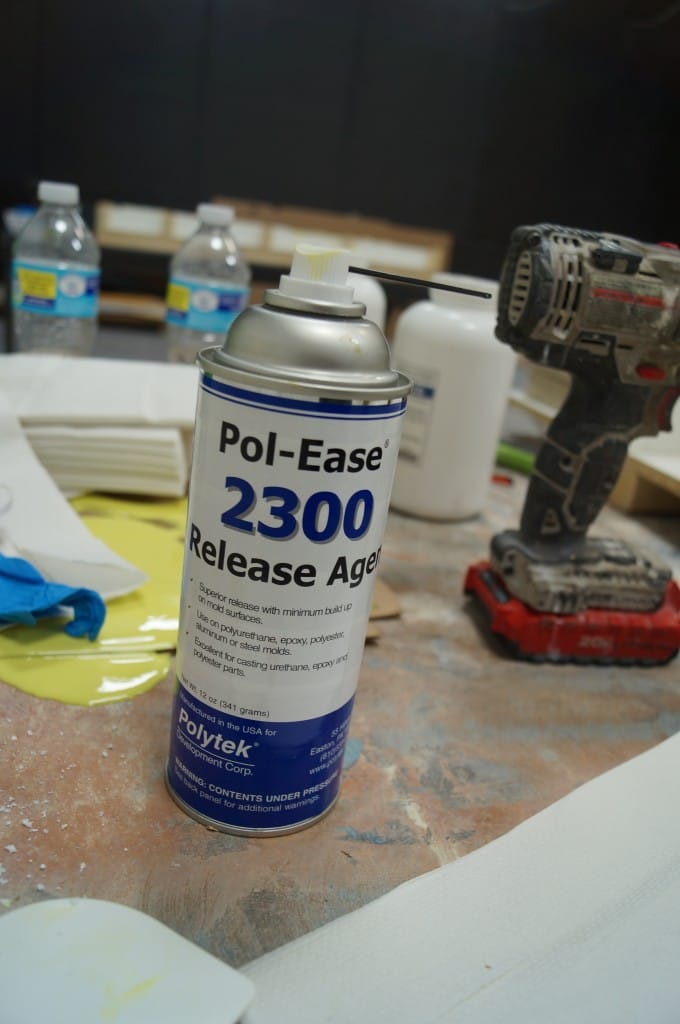
Apply Release Agent
We applied Pol-Ease® 2300 Release Agent to the cypress, baseboard, mold box walls and foam, and then
brushed it out with a dry brush to promote even coverage.

Calculate Amount of Rubber Needed
We used Poly 74-45 Liquid Rubber to make this mold. It is a mid-range hardness, polyurethane mold rubber with a mix
ratio of 1A:1B.
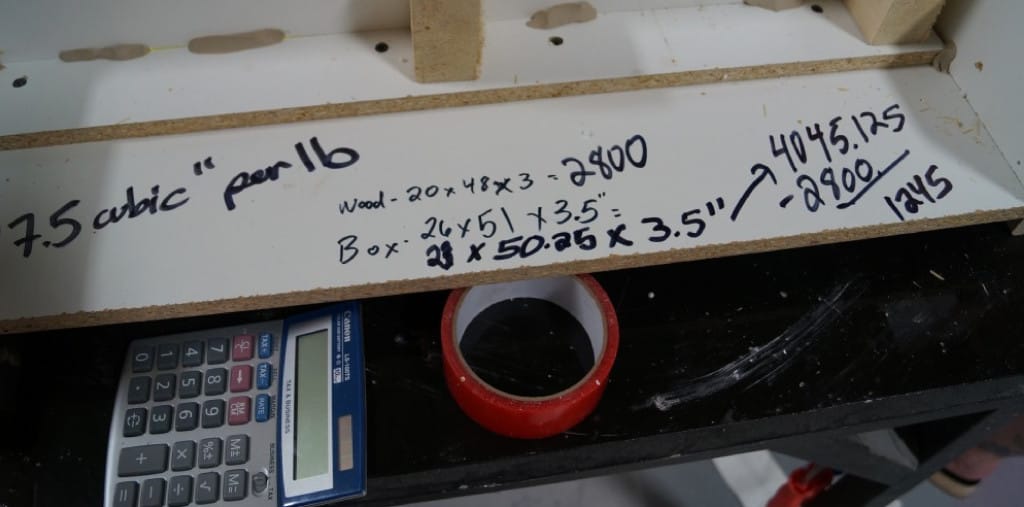
To following calculation was used to determine how much rubber was needed for the mold:
- calculate the volume of the mold box (23″ x 50.25″ x 3.5″ = ~4,045 in³) and the approximate volume of the cypress (20″ x 48″ x 3″ = ~2,800 in³)
- subtract the volume of the cypress from the volume of the mold box (4,045 in³ – 2,800 in³ = 1,245 in³)
- take that result and divide by the specific volume of Poly 74-45 liquid rubber (1,245 in³ ÷ 27.5 in³/lb = ~45 lb of Poly 74-45 Liquid Rubber)
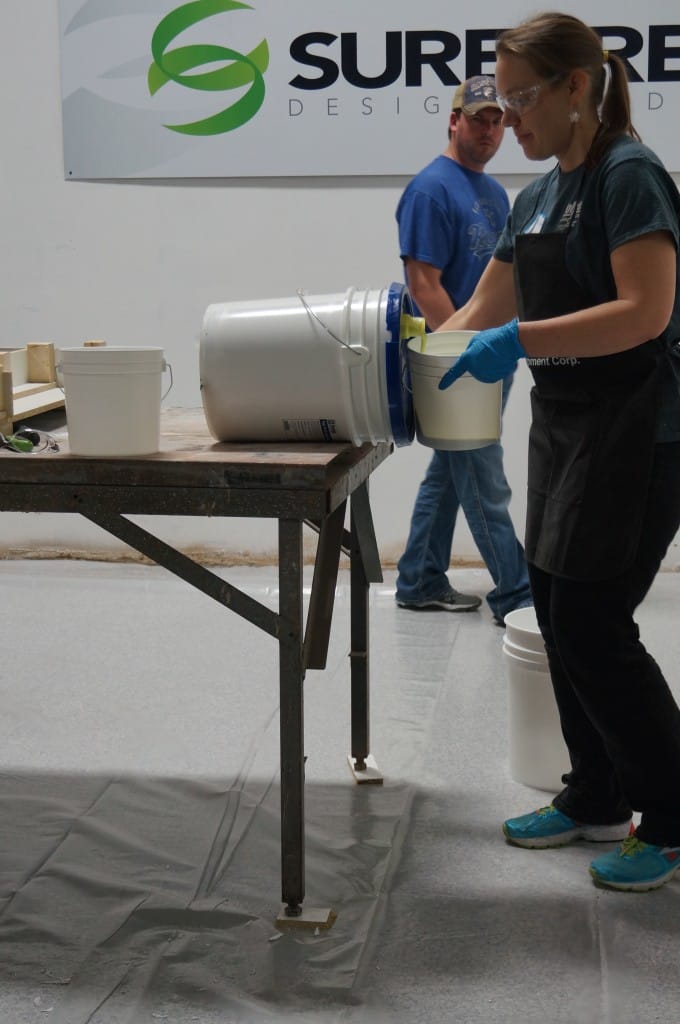
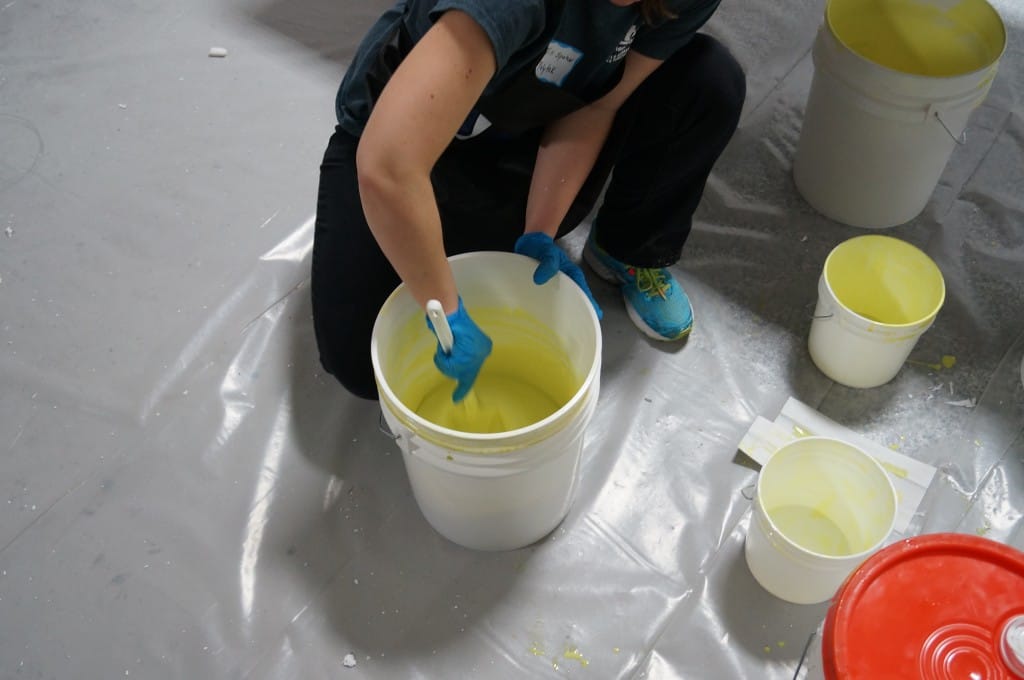
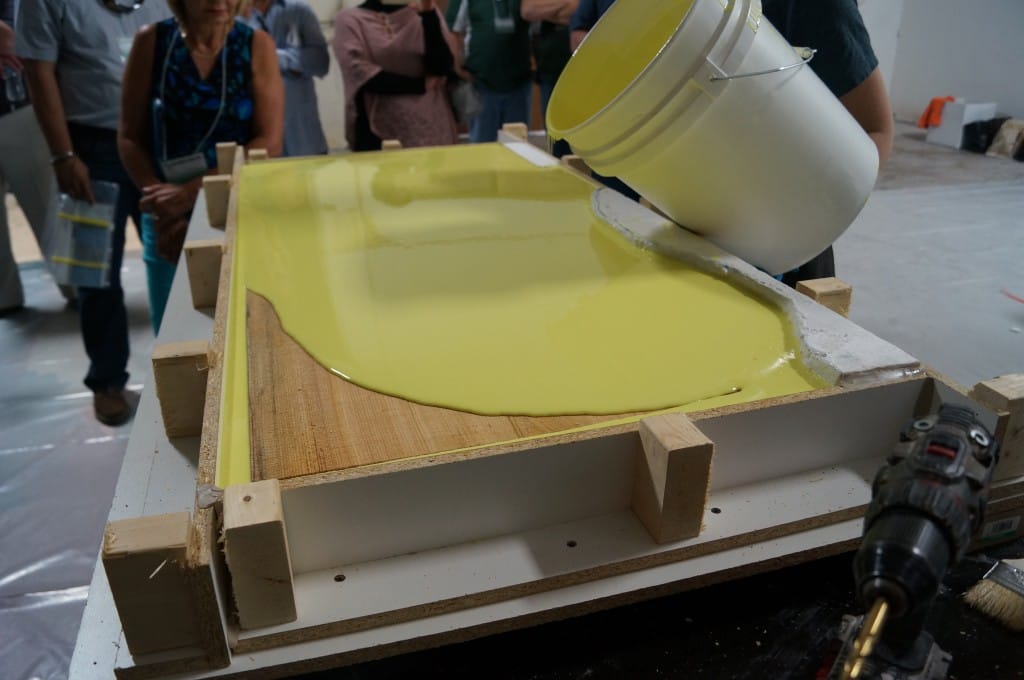
Measure, Mix & Pour Liquid Rubber
We measured Part A & Part B separately by volume, then combined and mixed them thoroughly in a clean mixing
container. We used a Poly Paddle mixing tool to mix by hand.

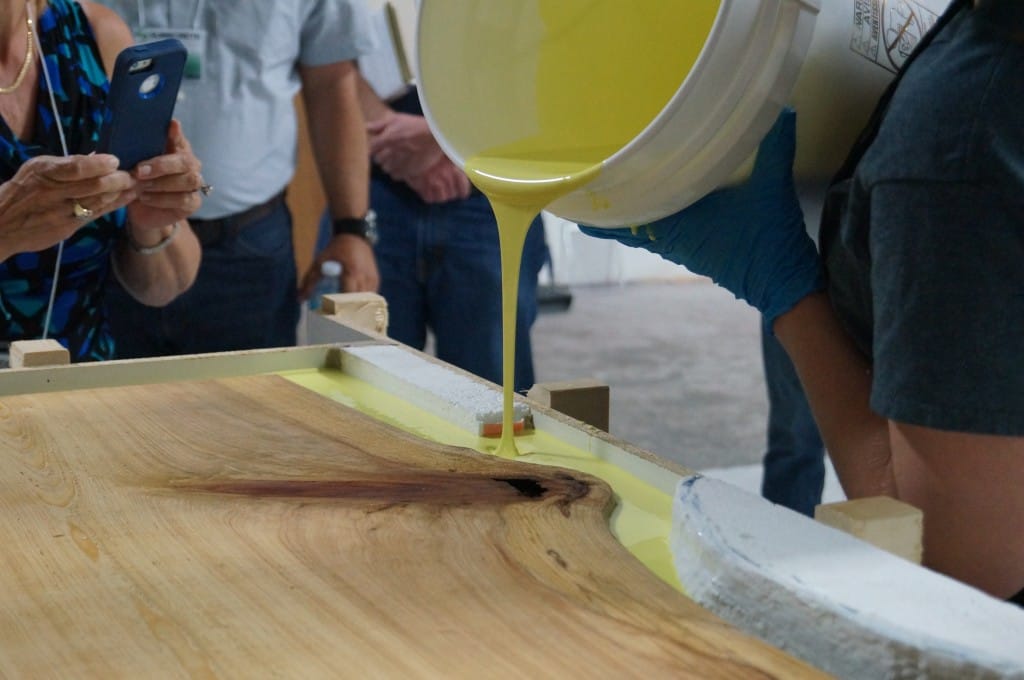
We poured the rubber into the mold box and allowed it to rise over to the model. It is best to pour
rubber into rubber and avoid pouring it directly onto the model.


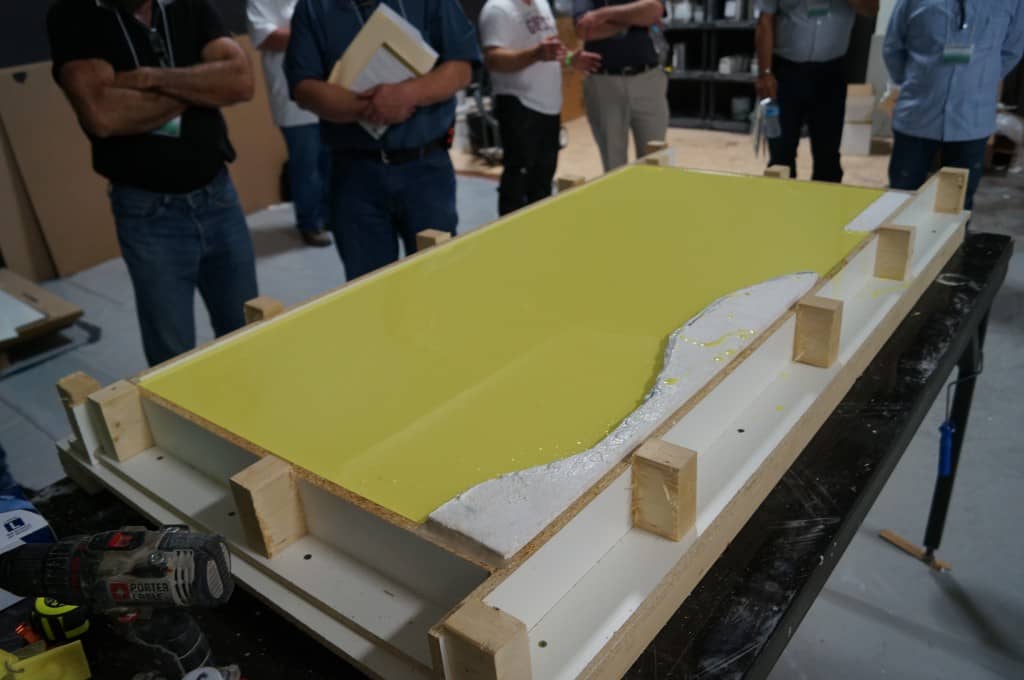
We allowed the rubber to cure overnight (~16 hours) at room temperature before demolding.
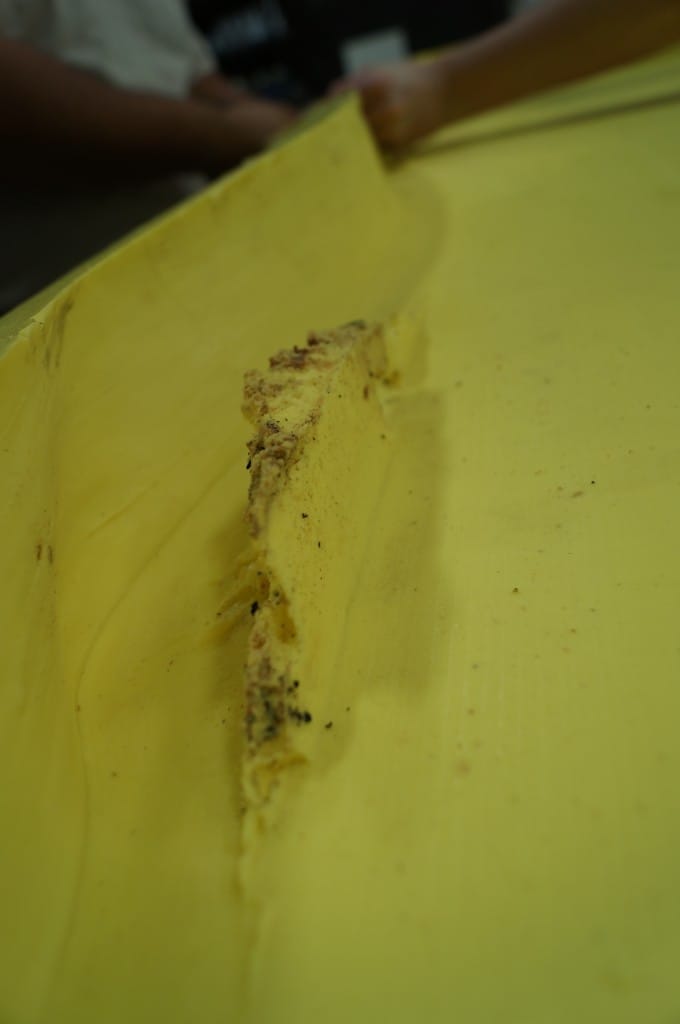
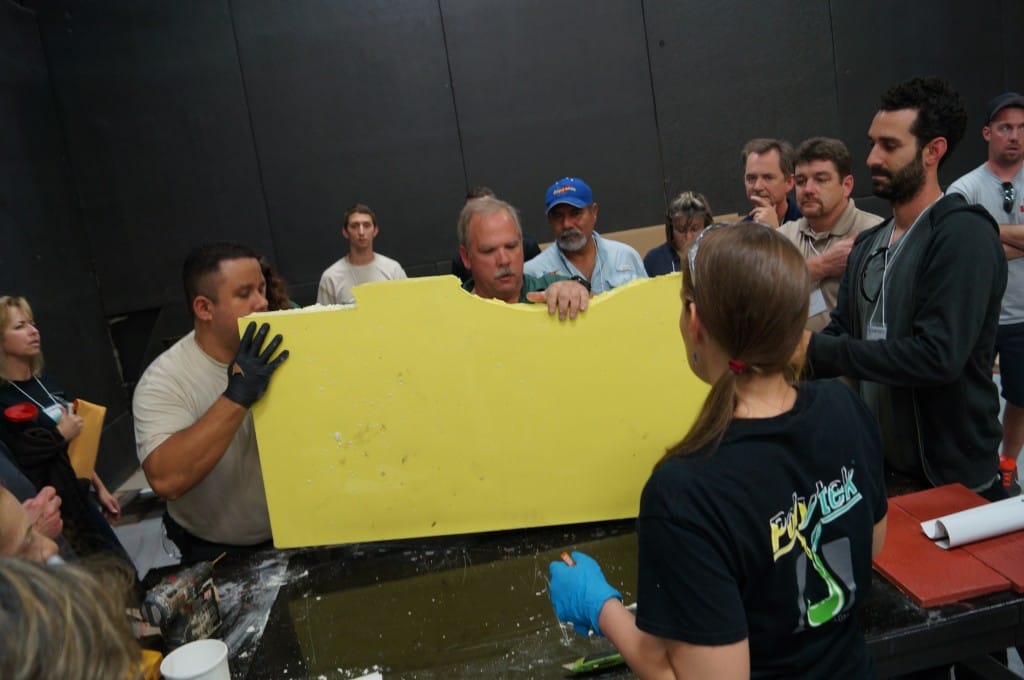
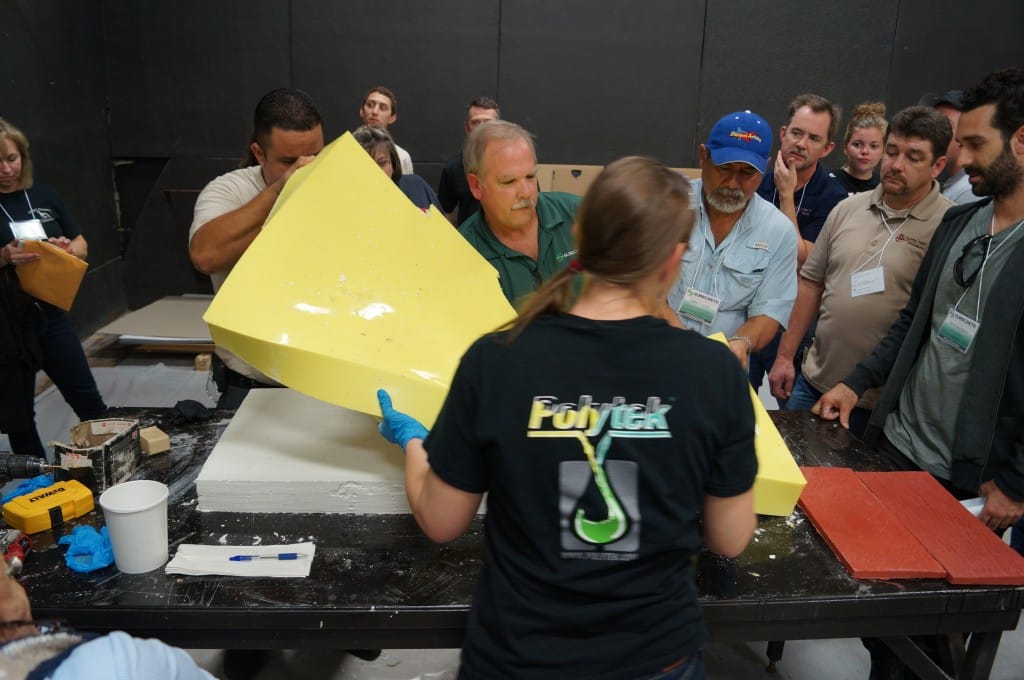
Demold
To demold, we began by removing the mold box walls and foam.
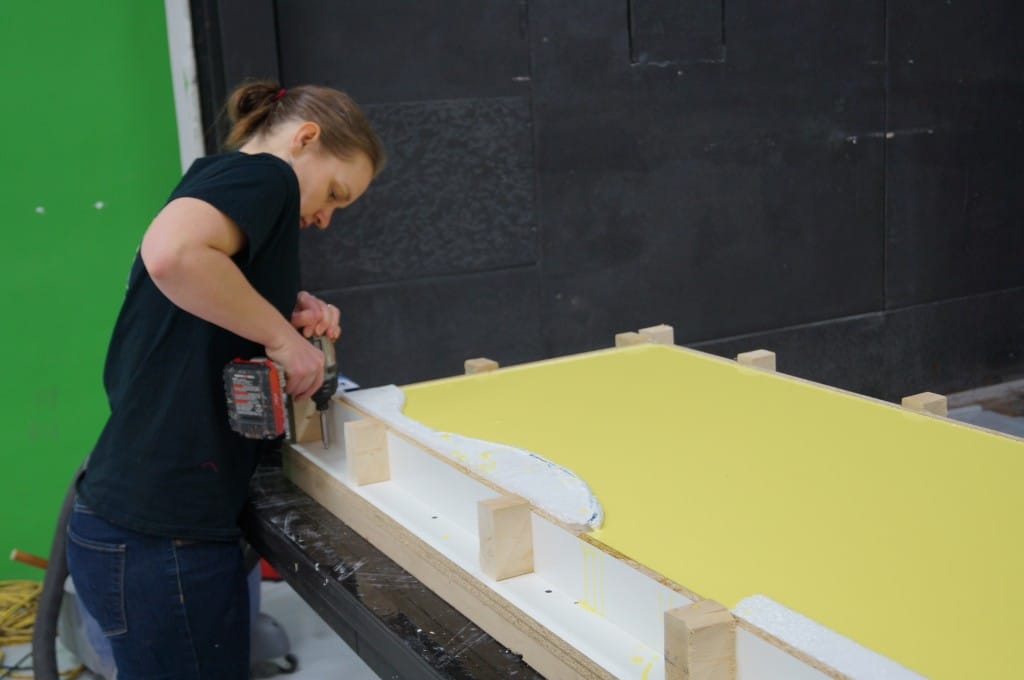

We carefully loosened all edges of the mold with putty knives and crowbars.
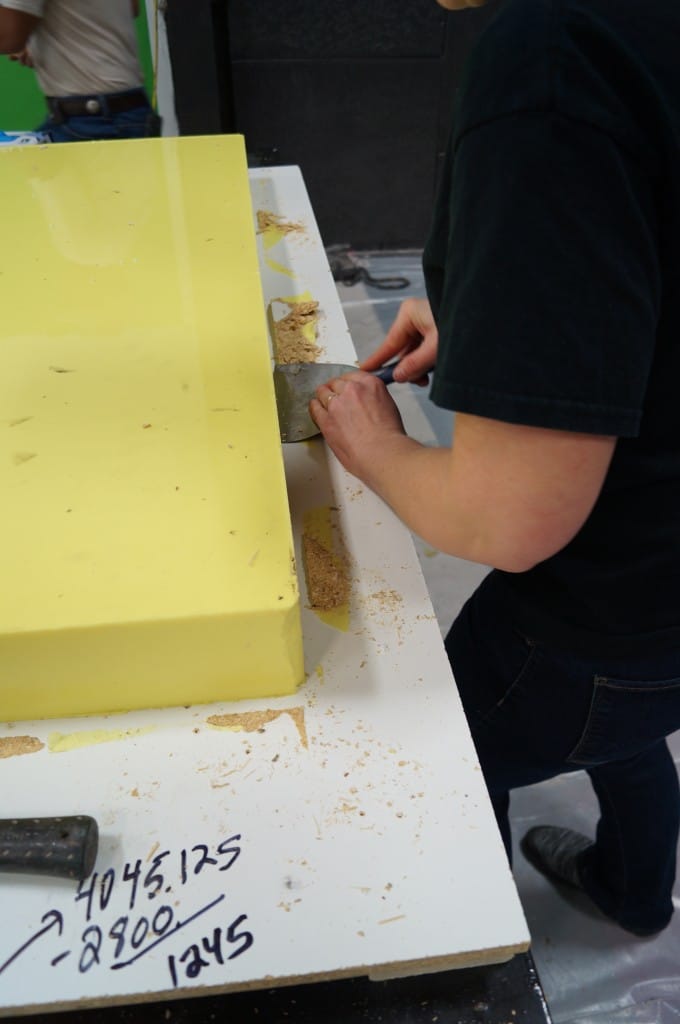
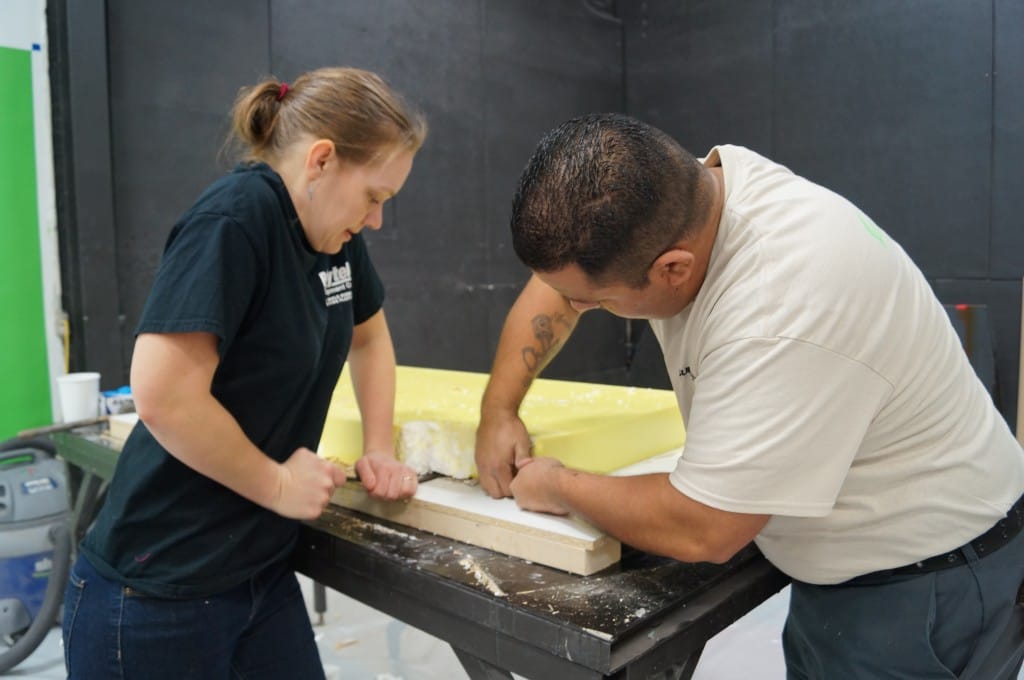
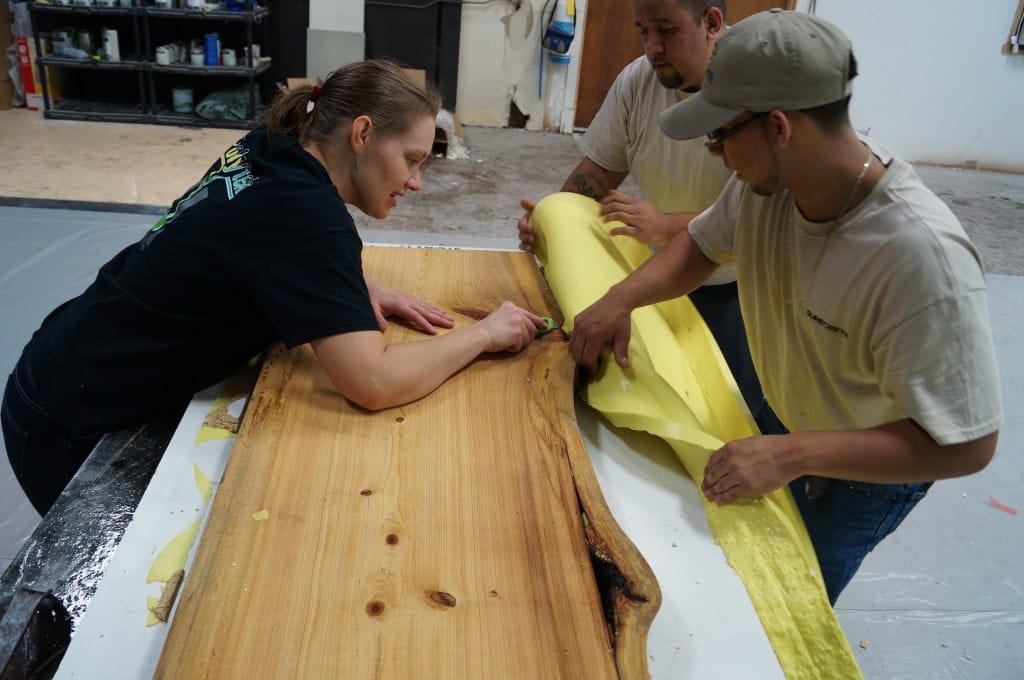
We peeled back the mold from the model, paying attention to areas where the rubber may have caught
(i.e., in knots in the wood).
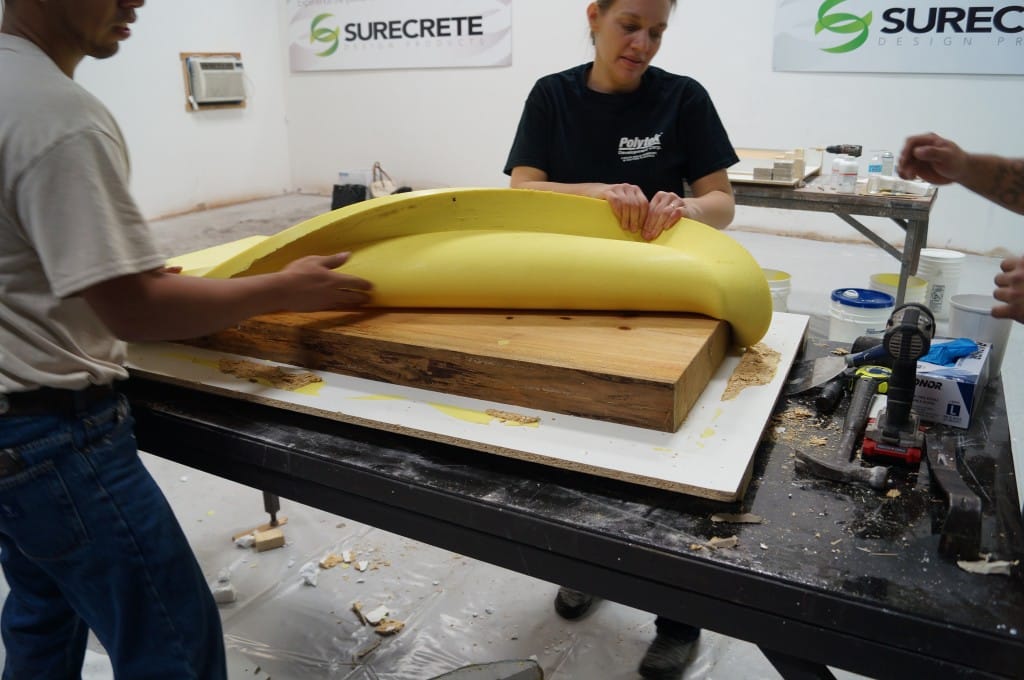
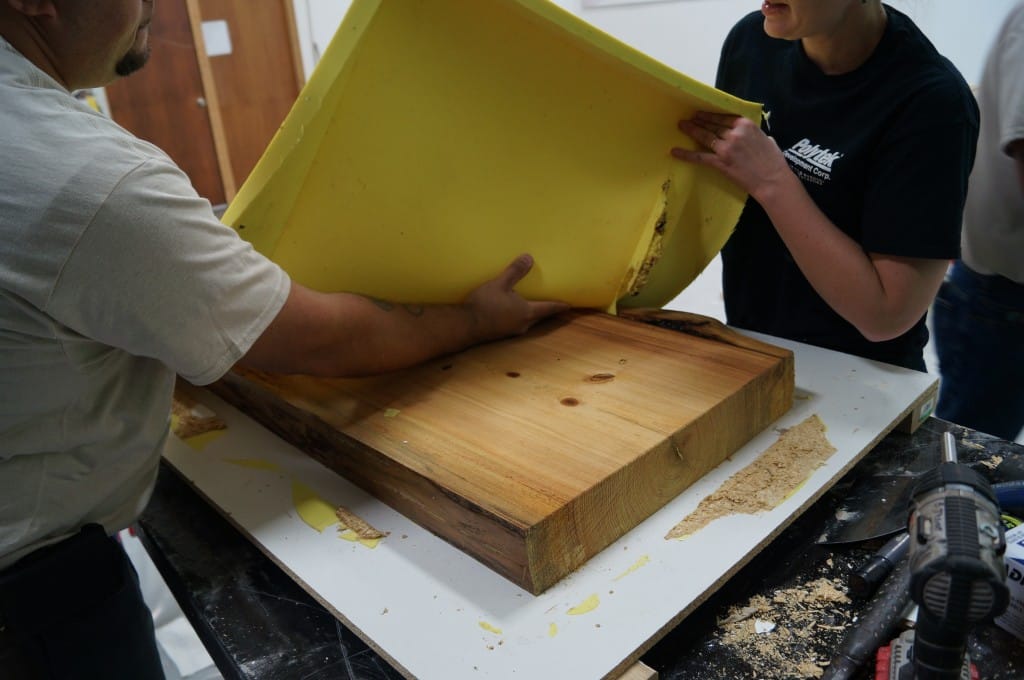
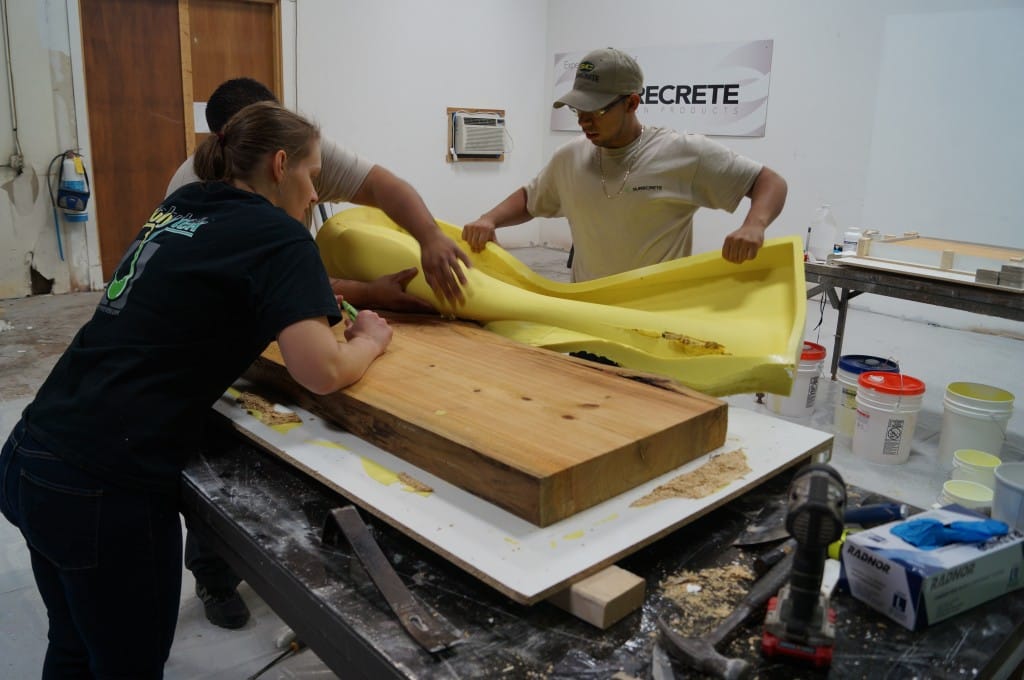
We carefully freed the rubber from the knots using a utility knife.
Cast Concrete
SureCrete’s Xtreme Series precast mix was poured into the mold (a particle board block-out was used).
Later in the day, we demolded.
The concrete was then stained with SureCrete’s EcoStain.