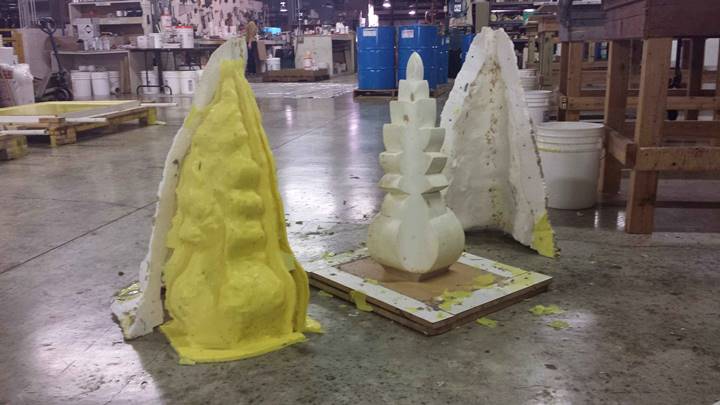
Poured Blanket Mold of Architectural Element for Concrete Casting
Two times a year, Polytek holds a Mold Making & Casting Seminar & Workshop. Attendees are invited to bring their own models (there is a size limit because the workshop is only two days long).
At one of these workshops, this decorative architectural element was brought in:
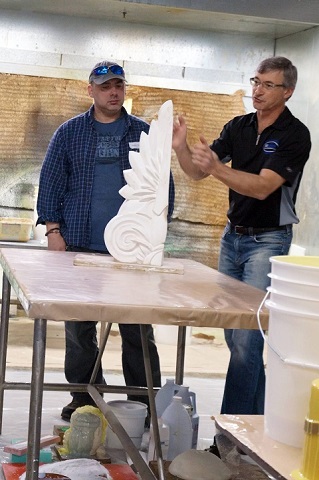
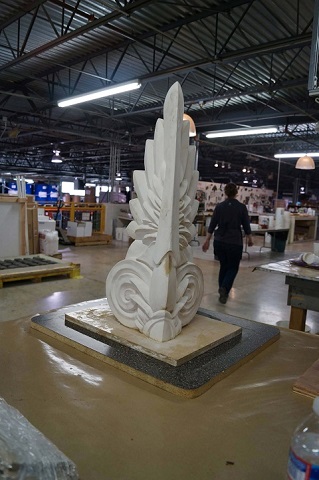
This particular attendee wanted to make a mold of this plaster element to later cast concrete.
After a discussion with Polytek staff members, a strategy was decided for the making of the mold:
- Mold Making Method: Poured Blanket Mold – this technique is backwards from most mold making methods; the mold shell is made first and then the rubber mold is made.
- Products: Poly 74-20 Polyurethane Liquid Rubber (for the mold) & Poly 1512X Liquid Plastic (for the mold shell).
The following steps were taken to complete the mold:
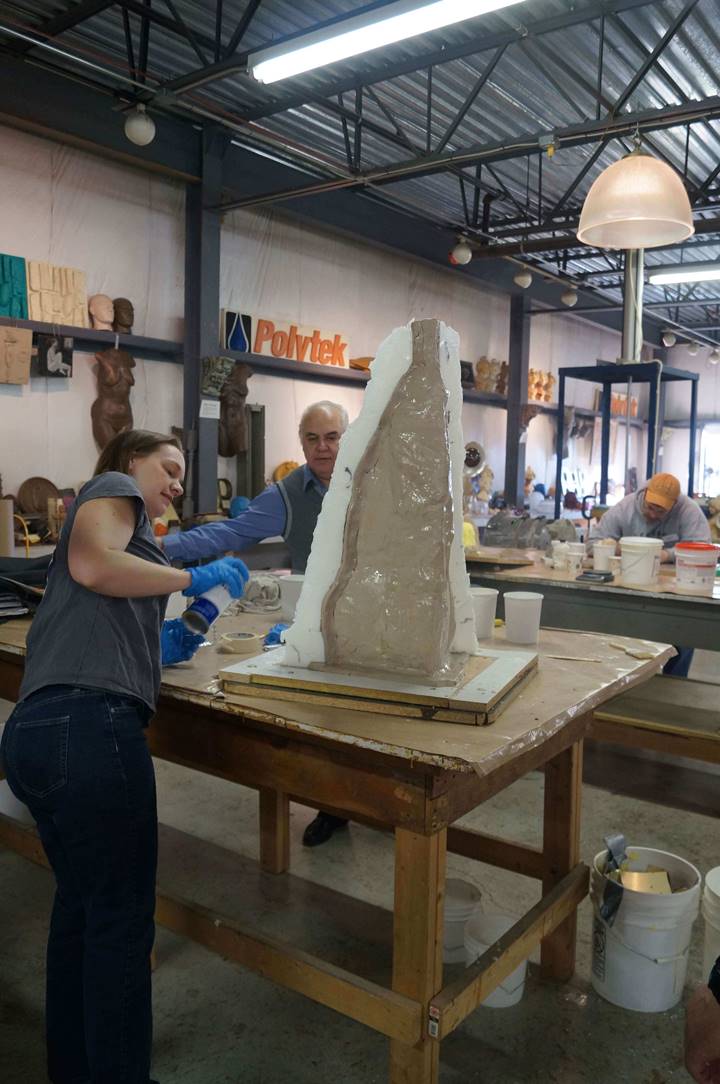
Step One: Cover the Model with a Uniform Layer of Clay
Apply a uniform layer of clay (e.g., plasticine clay) to the entire model (often, plastic wrap is placed over the model prior to clay placement). This clay represents the space that the mold rubber will eventually fill – it should be approximately 1/2″ thick and should fill any undercuts on the model so the mold shell does not lock onto the rubber mold.
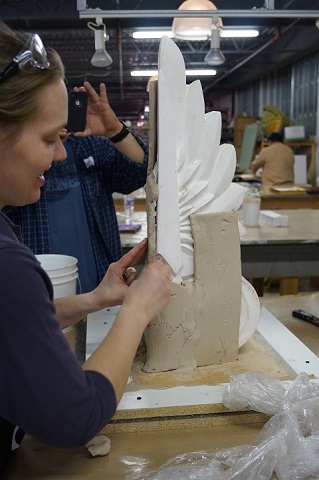
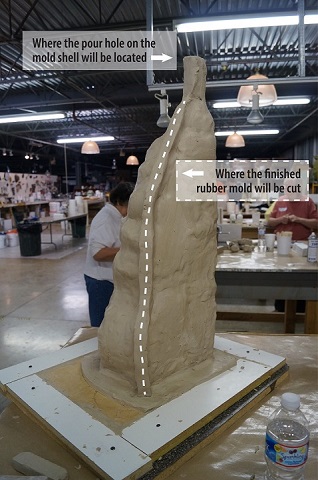
After a uniform layer has been applied, add a clay extension that will later be used as the pour hole for the liquid rubber. Also build-up a thick parting line in the clay that will later serve as the area where the finished rubber mold is cut. When possible, situate this line in an inconspicuous area of the model – along the corner, for instance, so parting lines are less obvious on castings.
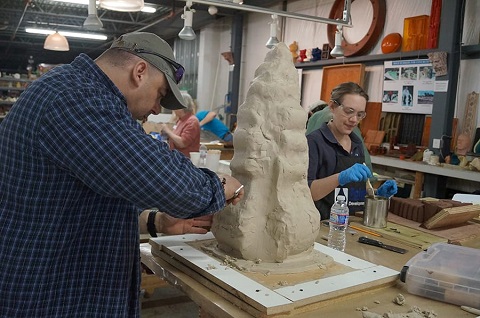
Step Two: Construct Shims to Separate Mold Shell Sections
This particular model required two mold shell pieces. To define the parting lines, shims were constructed from flashing and duct tape:
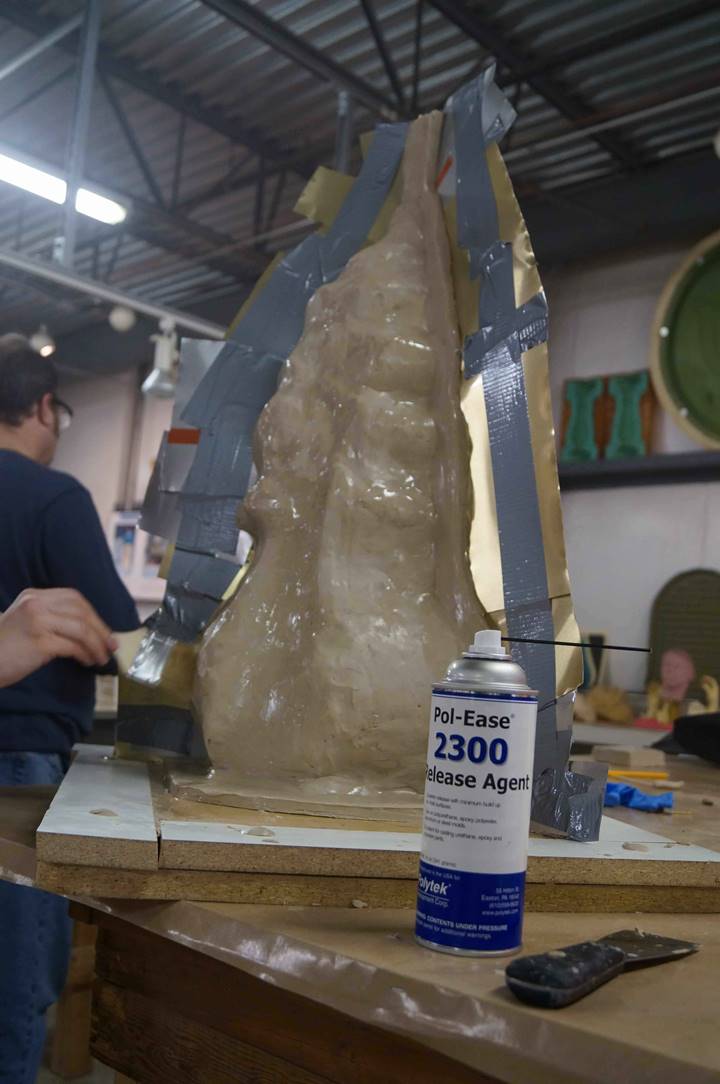
Step Three: Apply Release Agent to Clay & Shims
Apply Pol-Ease ® 2300 Release Agent to the clay and shims and then brush out with a dry brush to ensure even coverage. Release agent is applied to prepare for the construction of a plastic mold shell.
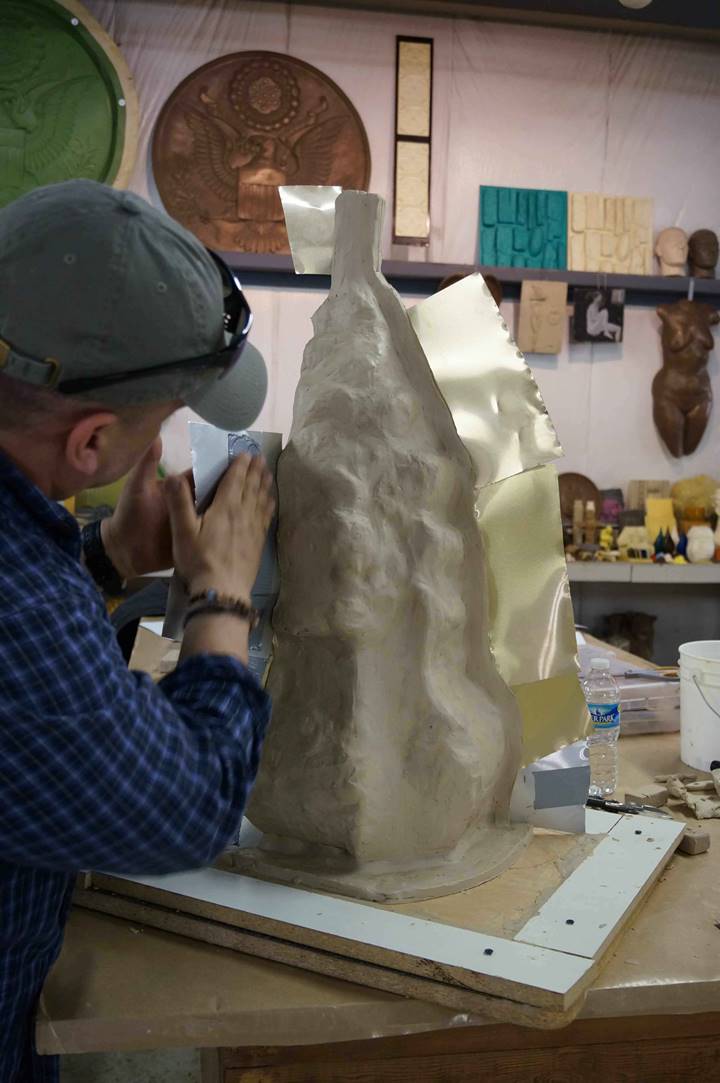
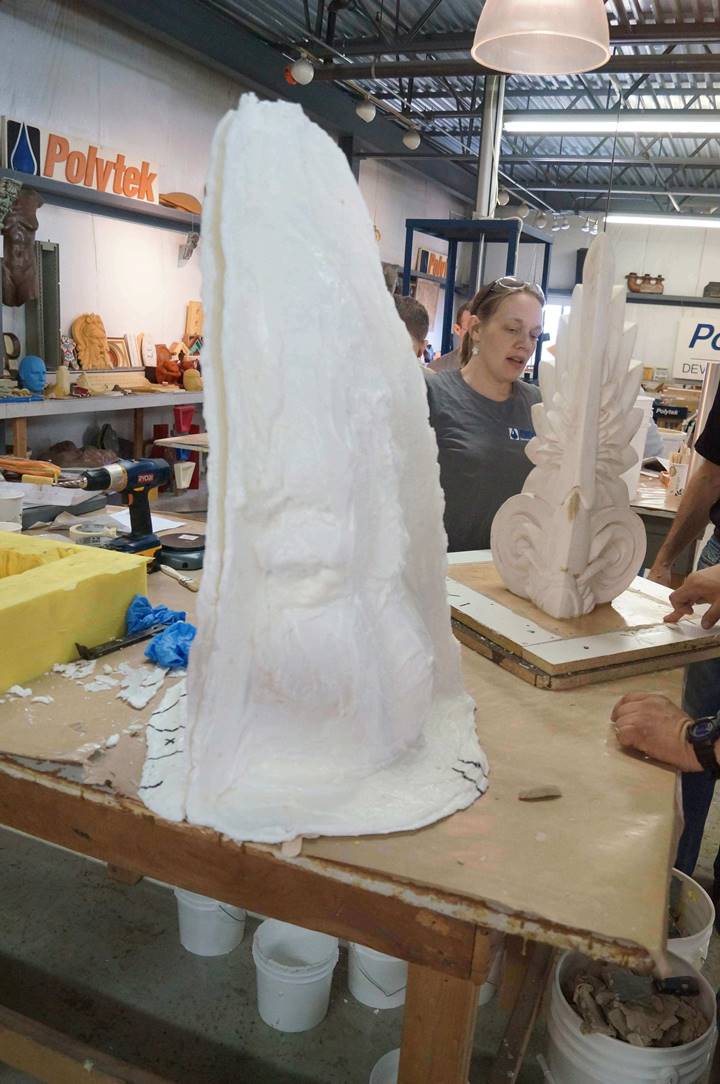
Step Four: Construct Plastic Mold Shell
Poly 1512X, a fast-setting polyurethane plastic, was used in conjunction with PolyFiber II, a fibrous thickening agent, to make the mold shell in this instance:
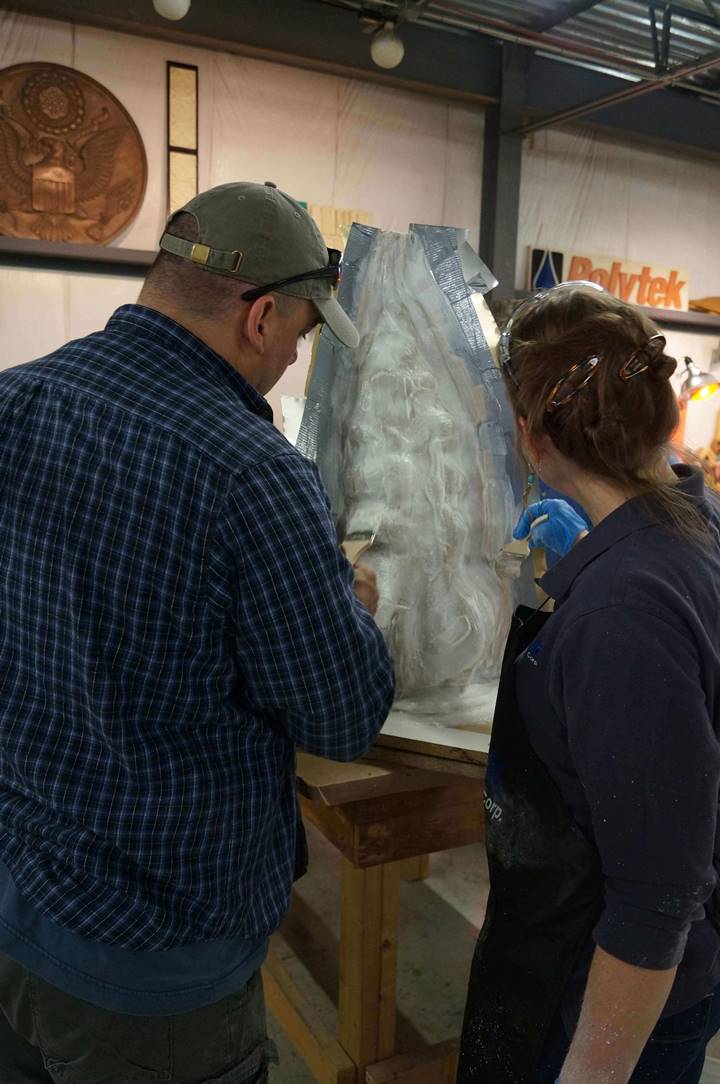
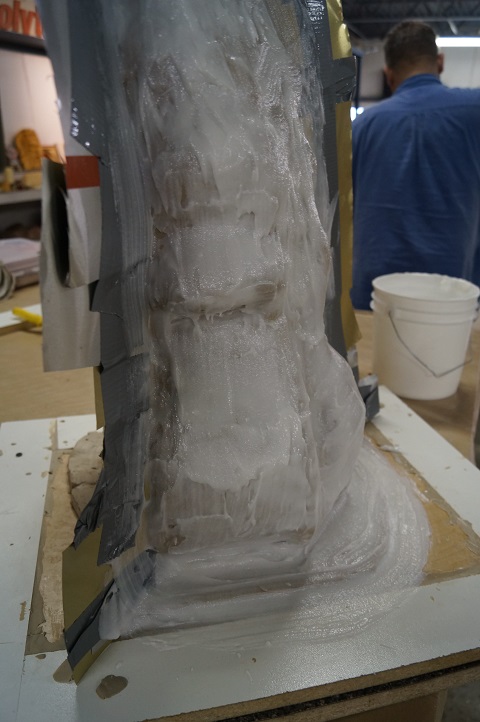
When the first side is complete and cured, remove the shims, apply release agent to the clay and mold shell (only the parts of the mold shell that will touch the second half of the mold shell) on the opposing side, and construct the second half of the mold shell:
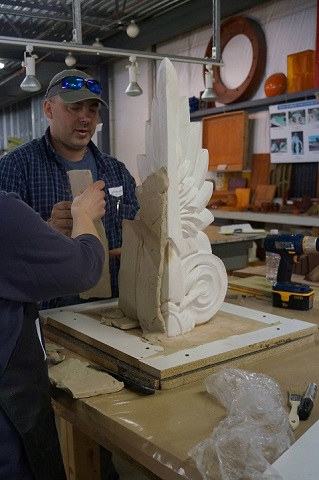
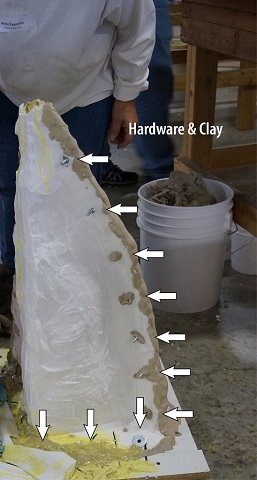
Step Five: Remove Clay from Model, Place Mold Shell Back Over Model & Add Hardware
Once the second half of the mold shell has cured, mark the location of the mold shell on the base board (so you can return it to that exact position when the liquid rubber is poured). Remove the mold shell from the model and then remove the clay from the model.
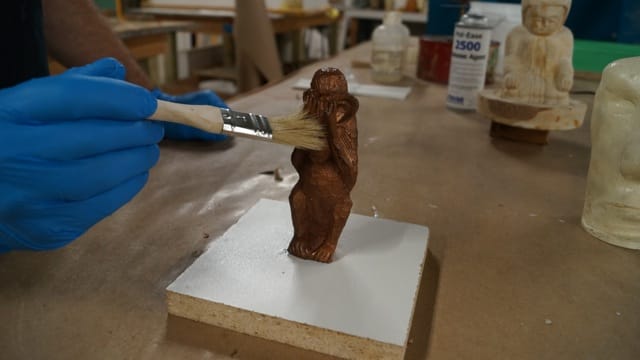
Once all of the clay has been removed, apply a proper release agent to the model (e.g., Pol-Ease 2300 Release Agent) and reposition the mold shell over the model making sure the positioning is the same as when it was initially created. NOTE: this plaster model was sealed by the attendee before arriving at the workshop – if it had not been sealed beforehand, we would have applied a sealing agent (e.g., mold soap, paste wax) prior to applying release agent.
Add hardware (e.g., nuts and bolts) to secure the two mold shell pieces together and add hardware securing the mold shell to the base board. Caulk possible leak points with plasticine clay:
Step Six: Measure, Mix & Pour Mold Rubber into the Mold Shell
Poly 74-20 Liquid Polyurethane Rubber , the mold rubber used in this instance, has a 1A:2B mix ratio, a 30-minute pour time, and a ~16-hour demold time.
One way to estimate the amount of rubber needed is to weigh the clay that was removed from the model (the rubber will be filling the same space as the clay). Once weighed, calculate the volume of the clay by multiplying its weight by its specific volume (18.4 in³/lb), then divide the clay volume by the specific volume of the liquid rubber (27.5 in³/lb).
Example:
If 5 lb of clay was removed from the model:
5 lb x 18.4 in³= 92 in³ of clay
92 in³ ÷ 27.5
in³/lb = ~3.34 lb of Poly 74-20 liquid rubber
Carefully weigh and mix the rubber and then pour it into the pour hole located at the top of the mold shell.
To decrease cure time, we applied heat:

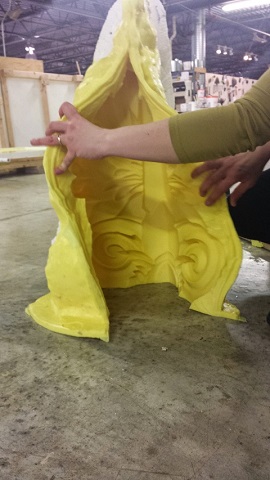
Step Seven: Demold
Poly 74-20 can be demolded after ~16 hours (less when heat is applied). Remove hardware and separate mold shell halves.
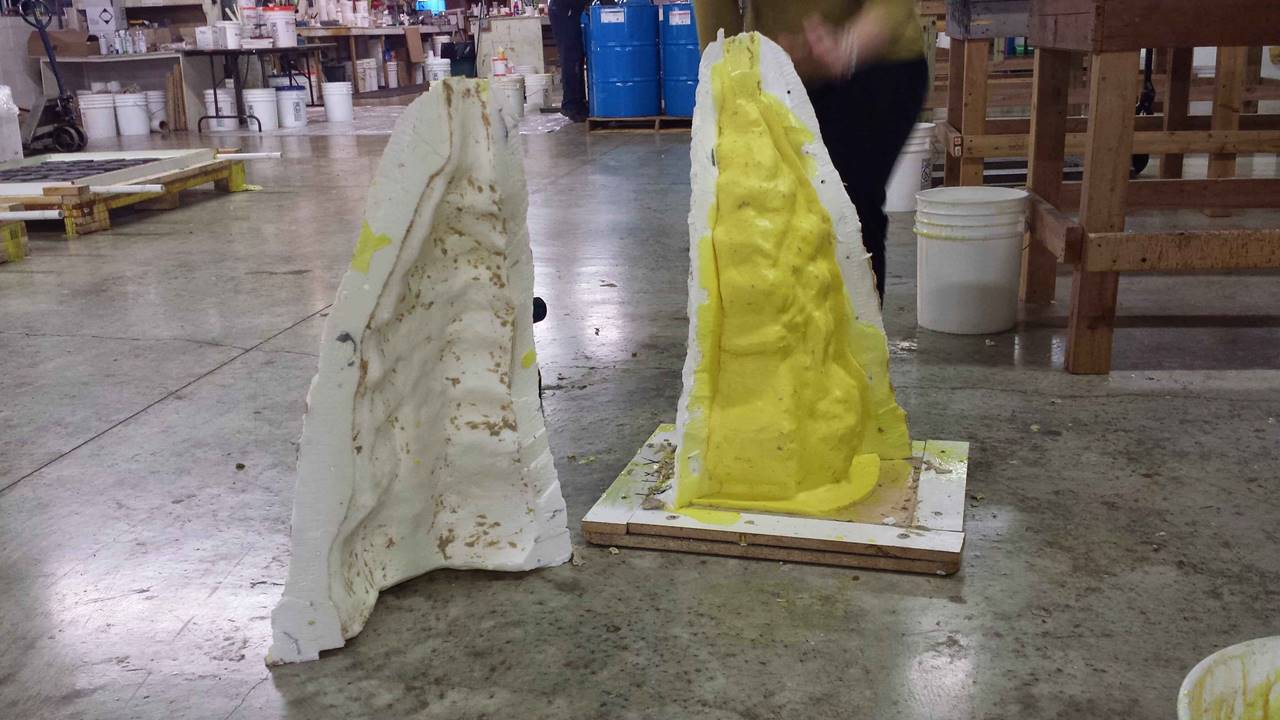

While the mold is still on the original model, make a cut through the thickened part of the mold created earlier with clay. We used both a mold key knife and scalpel for this process.
The mold is now ready for casting!