Tutorial: Brush-On Rubber Mold of Decorative Architectural Element
The following tutorial features the making of a one-piece, brush-on Polygel® 35 polyurethane rubber mold and a two-piece Poly 1512X Liquid Plastic mold shell.
The purpose of the mold is to later cast concrete copies of this decorative architectural piece.
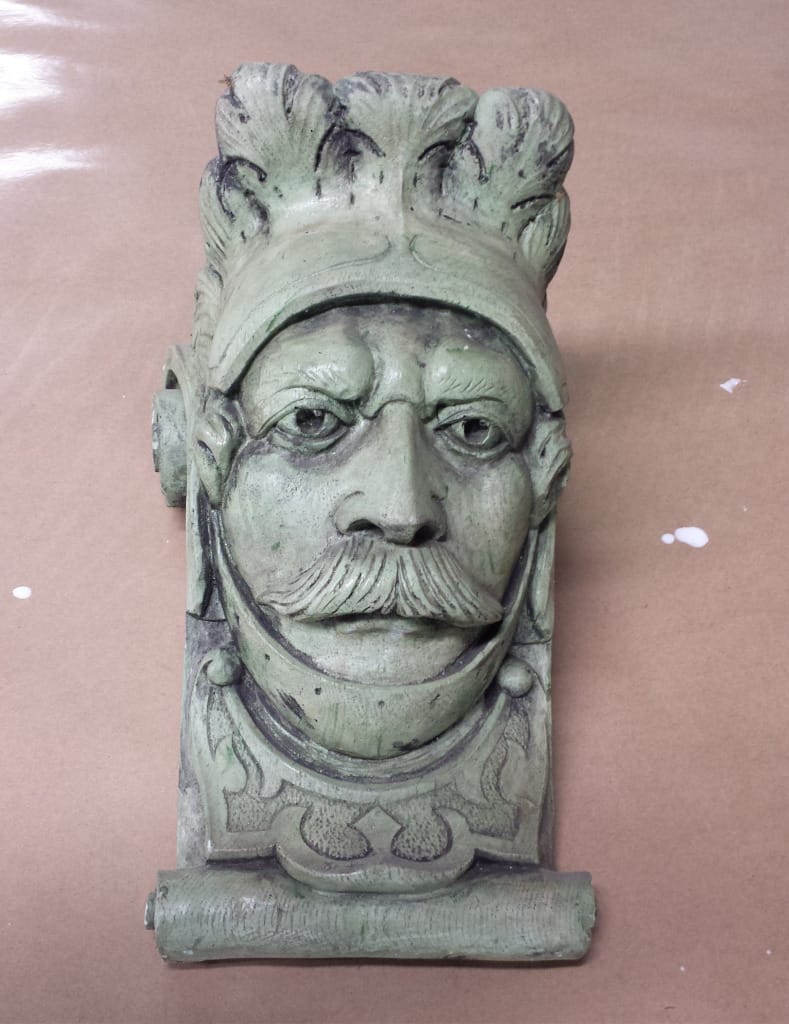
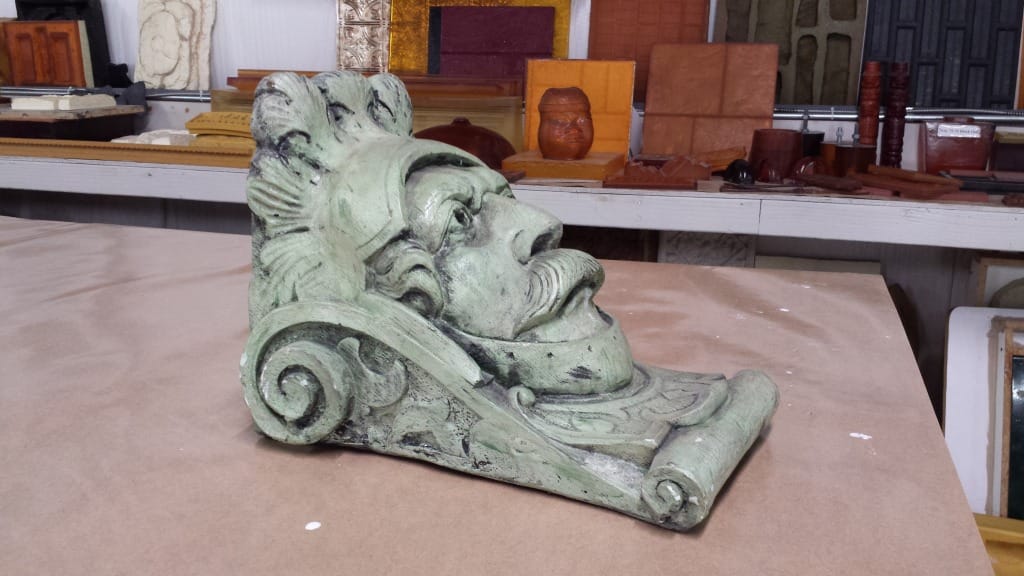
Step 1: Prepare the Model
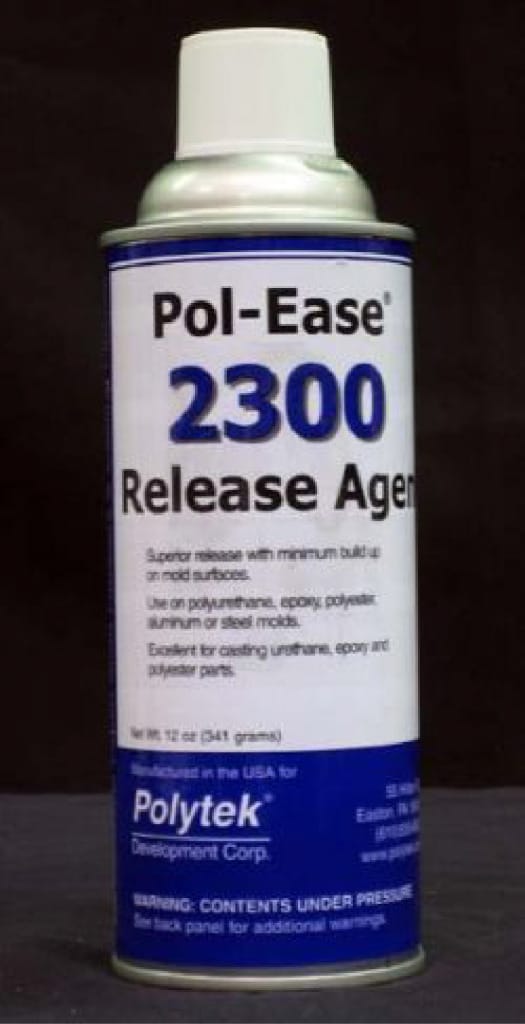
This model is composed of painted plaster. Because the plaster is already sealed with paint, additional sealing agent is not necessary. A release agent is required to prevent the polyurethane rubber from sticking to the model, so Pol-Ease® 2300 Release Agent is sprayed onto the model and surrounding baseboard and then brushed out with a dry brush.
This particular release agent is being used because a polyurethane mold rubber is going to be applied to the model. If a silicone mold rubber was selected as the mold material, a different release agent would be recommended (i.e., Pol-Ease® 2500 Release Agent). For more information on Polytek release agents and sealers, view our Sealer & Release Agent Selection Guide.
Step 2: Brush On Liquid Mold Rubber
Polygel 35 Brush-On Rubber is selected as the mold material. Polygel 35 is a self-thickening, two-part polyurethane rubber that cures to a Shore A35 hardness. Upon mixing Part A & Part B (1A:1B mix ratio), the mix immediately thickens to a brushable consistency. It is a great option for those that would rather not add a separate thickener (i.e., all Polytek pourable liquid mold rubbers can be thickened with the addition of a separate thickener, like PolyFiber II).
Because there are no major undercuts on this model and Polygel 35 is a relatively soft rubber, a one-piece mold can be made. One-piece blanket molds that can be lifted or peeled off of models without a cut in the mold are often referred to as “glove” or “sock” molds.
Generally, blanket molds should be between 1/4″ and 3/8″ thick, which requires multiple layers.
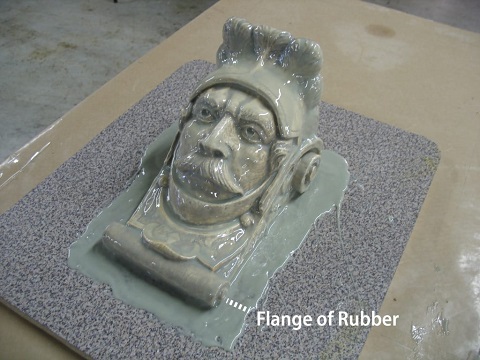
Carefully apply the first layer of Polygel 35, making sure that all of the details of the model are filled with rubber. Also create a flange of rubber around the model on the baseboard (we often use melamine-laminated particle board as baseboards, like the example below).
Before applying the second layer of rubber, allow the first layer to gel enough that application of the second layer will not disturb or move it. This takes about an hour, depending on temperature and humidity.
To ensure uniform coverage of each layer, a small amount of PolyColor Dye can be mixed into the Polygel so that thorough coverage can be checked visually. In this example, Red PolyColor dye is added for application of alternating layers:
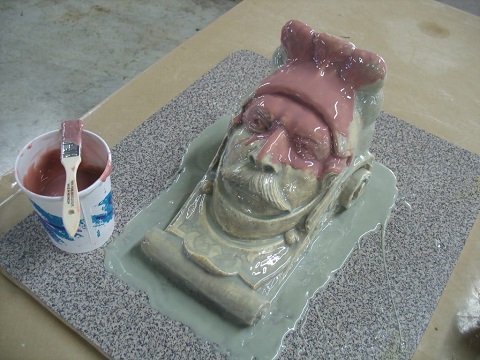
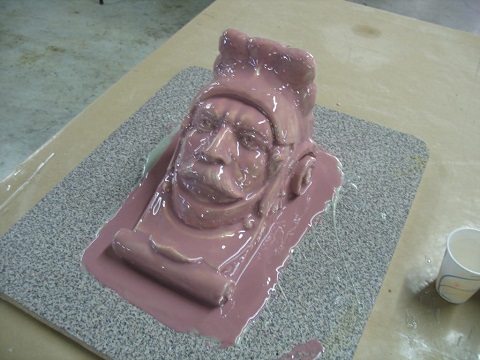
Allow the second layer to gel before applying the third layer.
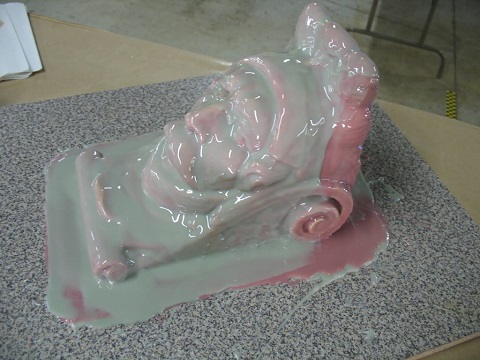
Allow the third layer to gel before applying the fourth, and final, layer of rubber.
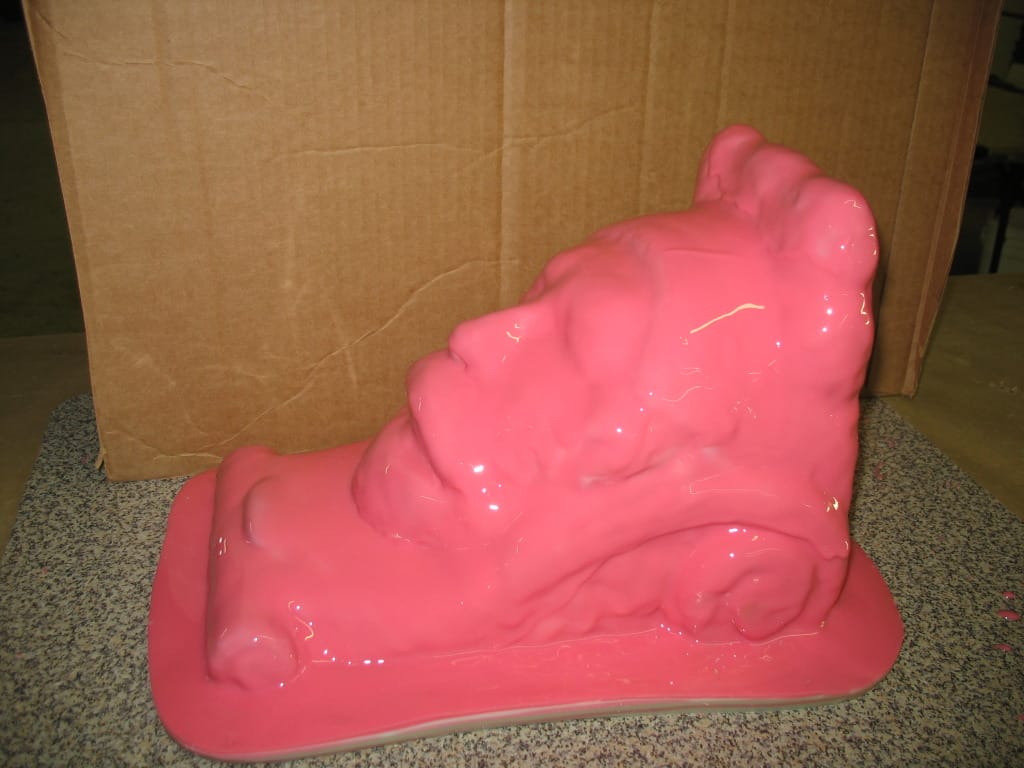
Allow the rubber to cure for 8-12 hours at room temperature before constructing the mold shell.
Step 3: Construct Mold Shell
Poly 1512X Liquid Plastic is selected to construct the two-part mold shell. Poly 1512X has a 1A:1B mix ratio, a short working time of ~5 minutes and a demold time of ~30 minutes.
In this example, the parting line will run vertically down the middle of the “face” – it’s important to be aware of undercuts that could potentially lock the mold shell onto the model and mold.
Shims can be created from a variety of materials (e.g., metal flashing, plastic) – cardboard is used for this example. Make an outline of the shape of of the mold with a marker and then cut the shape out.
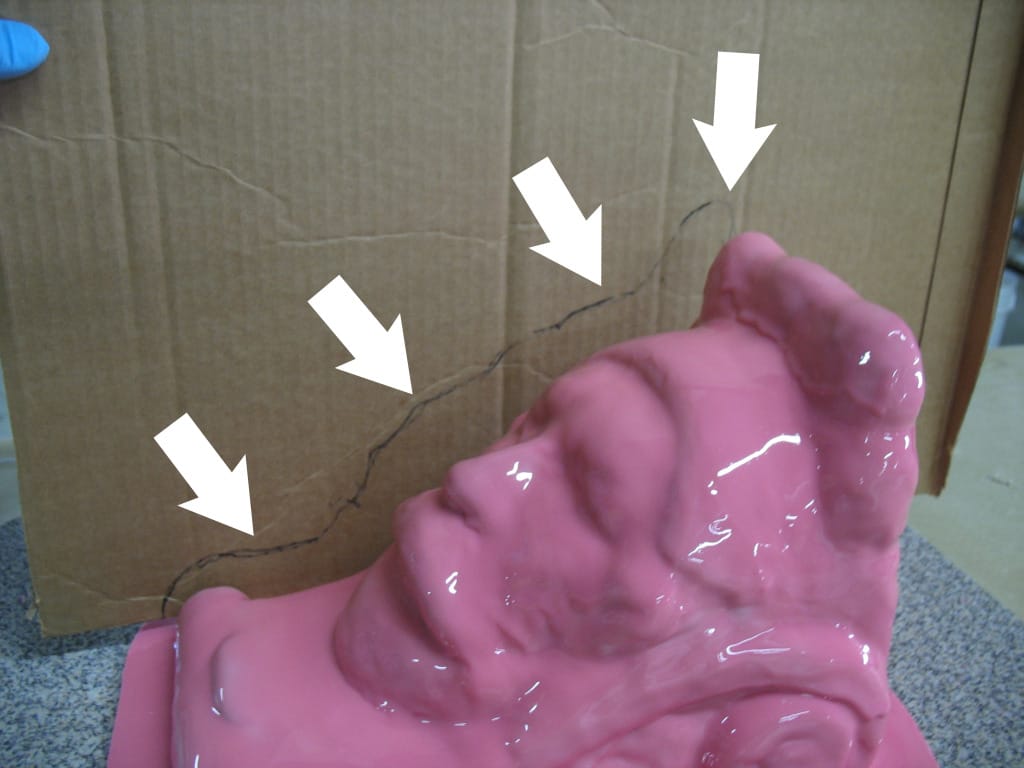
Place the shim over the designated parting line.
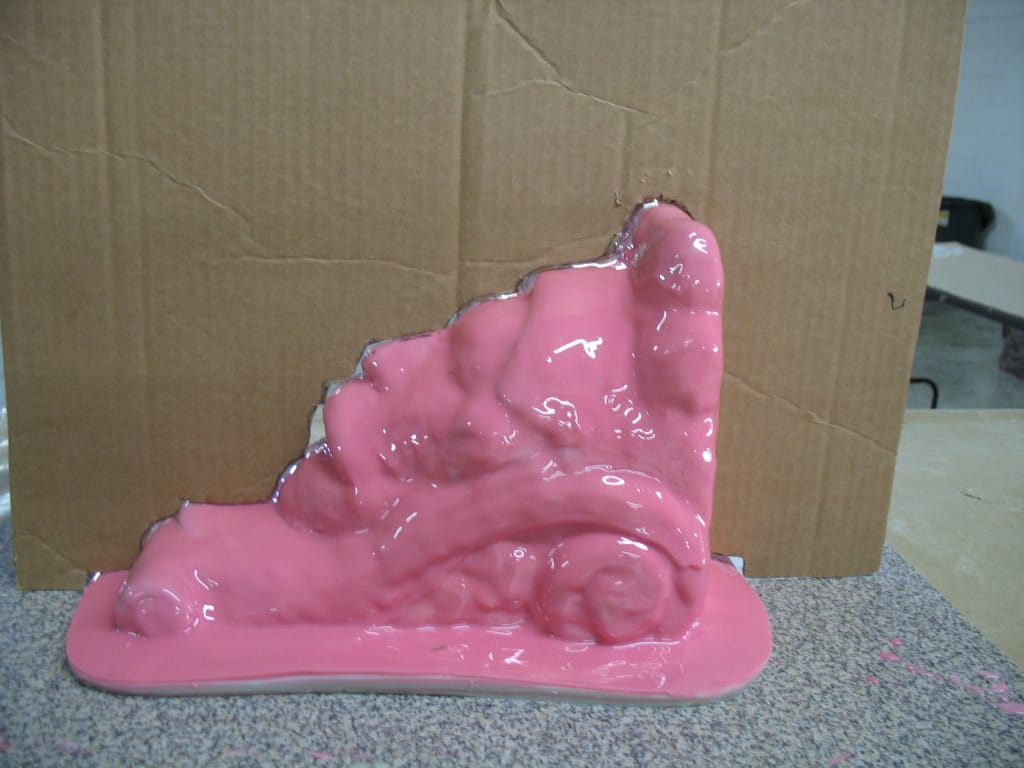
To help prevent the plastic shell material from leaking onto the other side of the mold, caulk the edges with plasticine clay. Although it is not shown in this example, it is a good idea to place some clay “keys” on the cardboard shim in areas that will contact the shell material. This is done to register mold shell halves for improved alignment later.
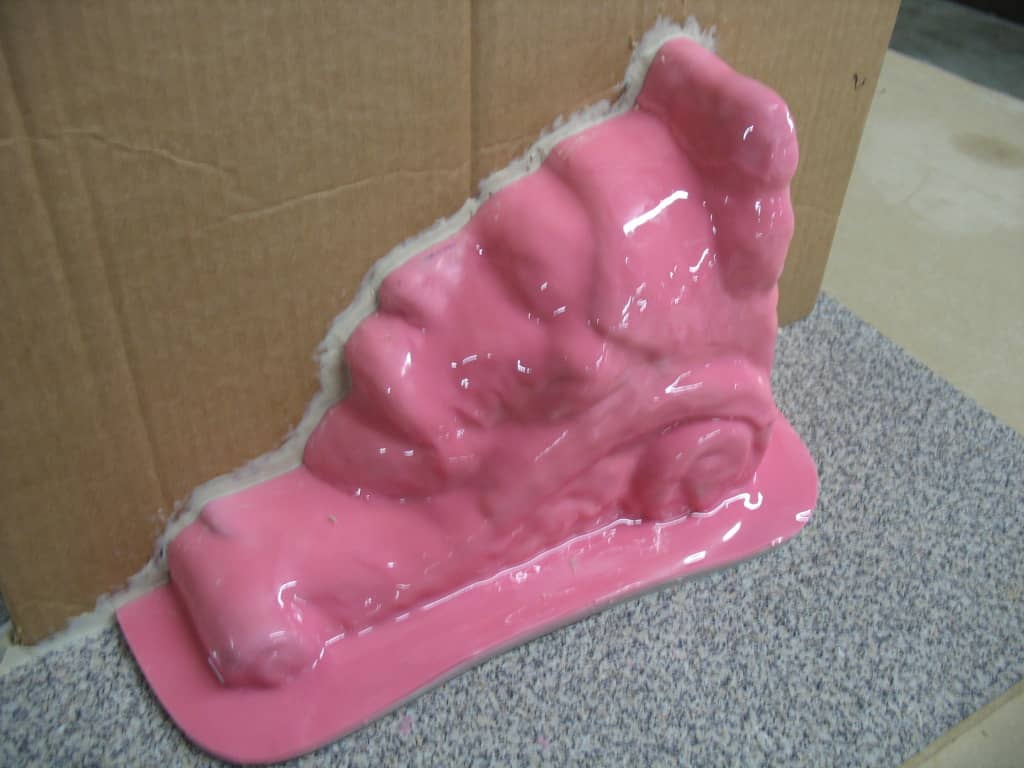
The mold rubber, cardboard shim and surrounding baseboard need to be coated in a proper release agent so that the polyurethane plastic shell does not bond. In this example, Paste Wax is applied with a brush and then Pol-Ease 2300 Release Agent is sprayed and brushed out with a brush.
Poly 1512X Liquid Plastic is a pourable plastic with a low viscosity of 400 cP (i.e., a viscosity similar to SAE 30 Motor Oil), so PolyFiber II thickener is added to the mixed resin to bring the plastic to a brushable consistency for application. Add PolyFiber II to the liquid plastic until a paste-like consistency is reached.
Polyurethane plastics cure faster in larger masses, so it’s important to work relatively quickly and get the plastic out of the mixing container and onto the mold. Dry brushes, stainless steel spatulas, and Poly Paddles are good tools to use to move the plastic into position. Completion of half of a mold shell may require more than one batch of plastic, depending on the size of mold shell and how much plastic is being mixed at a time. If the shell requires a second layer, allow the first layer to gel before applying the second layer.
Make sure to create a mold shell flange that extends beyond the mold.
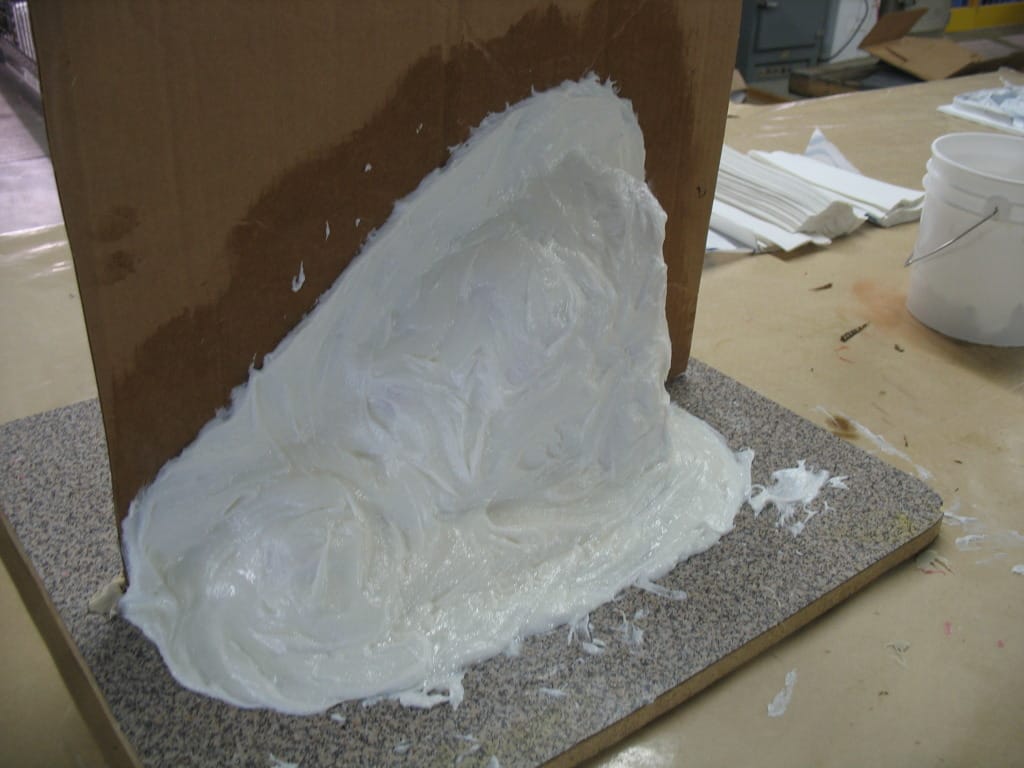
Wooden legs are added before the plastic completely sets. They are used to level the mold for casting later.
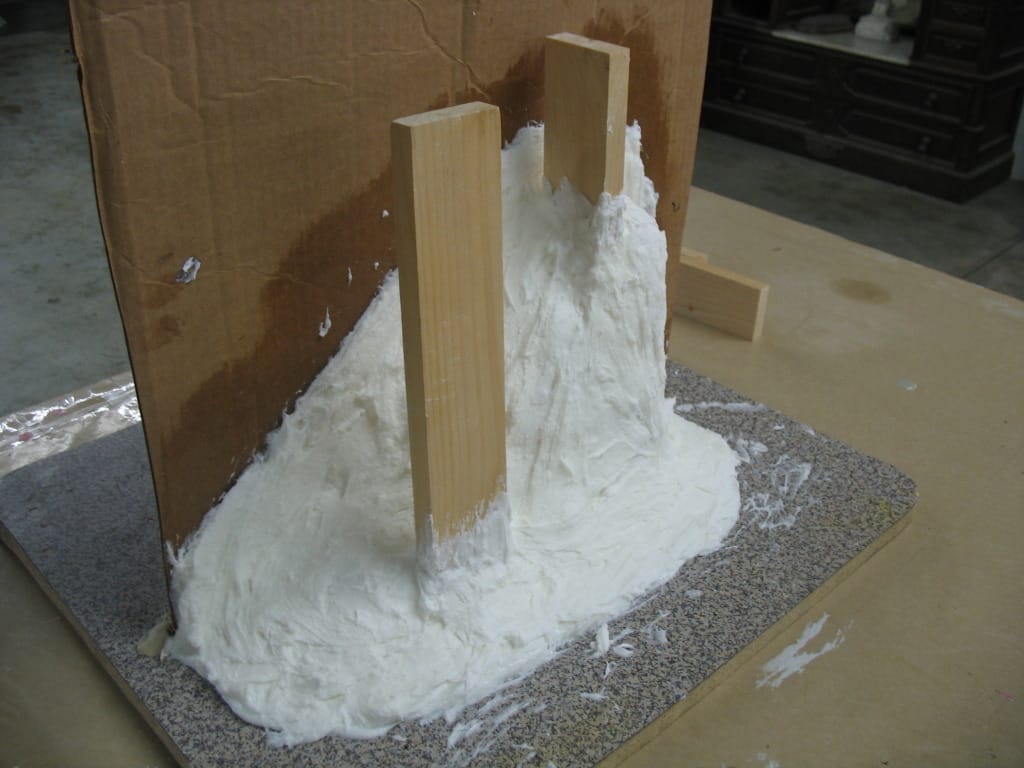
Allow the first half of the mold shell to cure (the demold time is ~30 minutes; however, thin sections may take longer) and then remove the cardboard shim and prepare to make the second half of the mold shell.
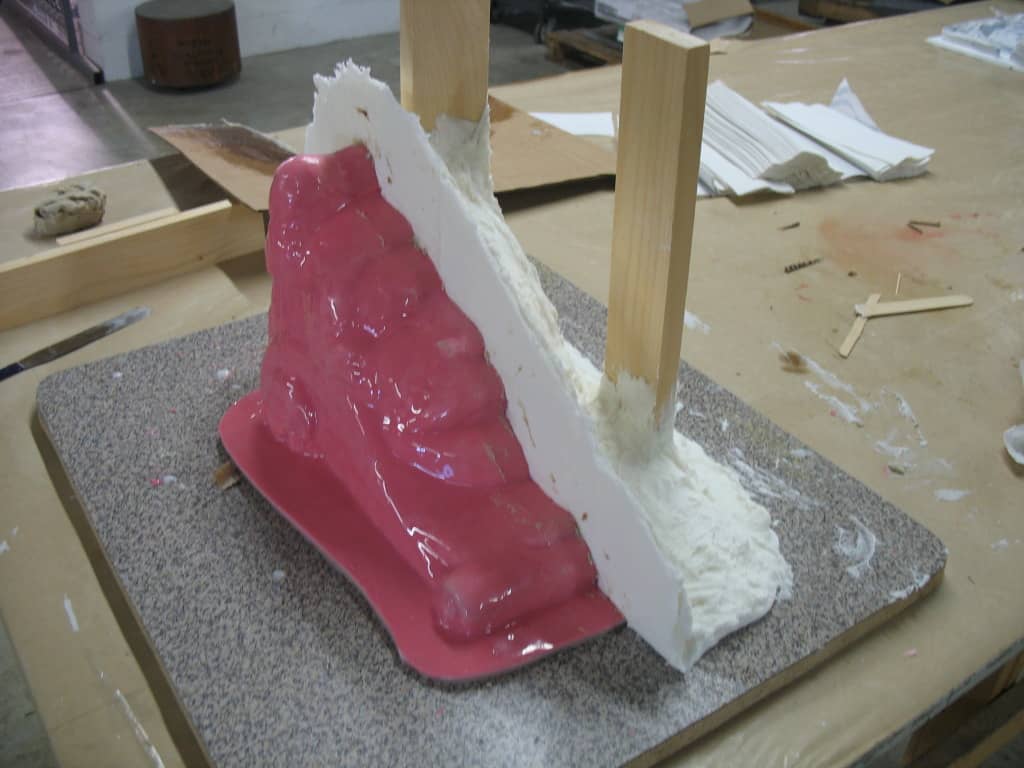
Apply Paste Wax followed by Pol-Ease 2300 Release Agent to the Polygel 35 rubber, mold shell flange and surrounding baseboard. Also apply these to the opposite side of the mold shell flange in case any plastic accidentally spills over during application.
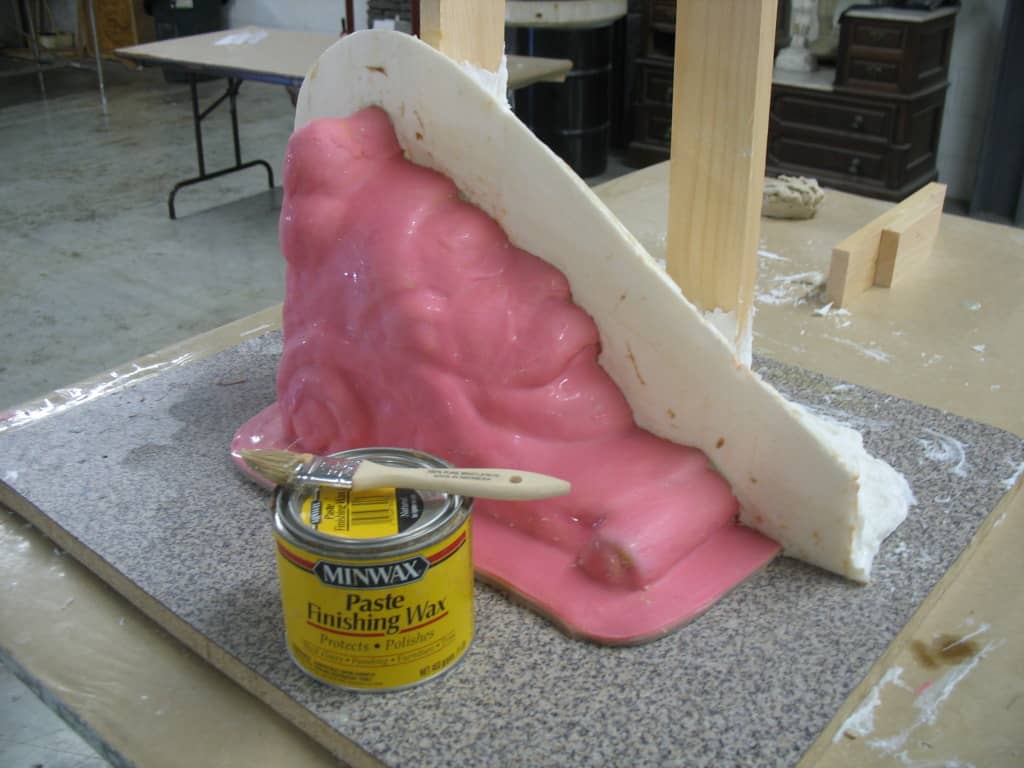
Construct the second half of the mold shell.
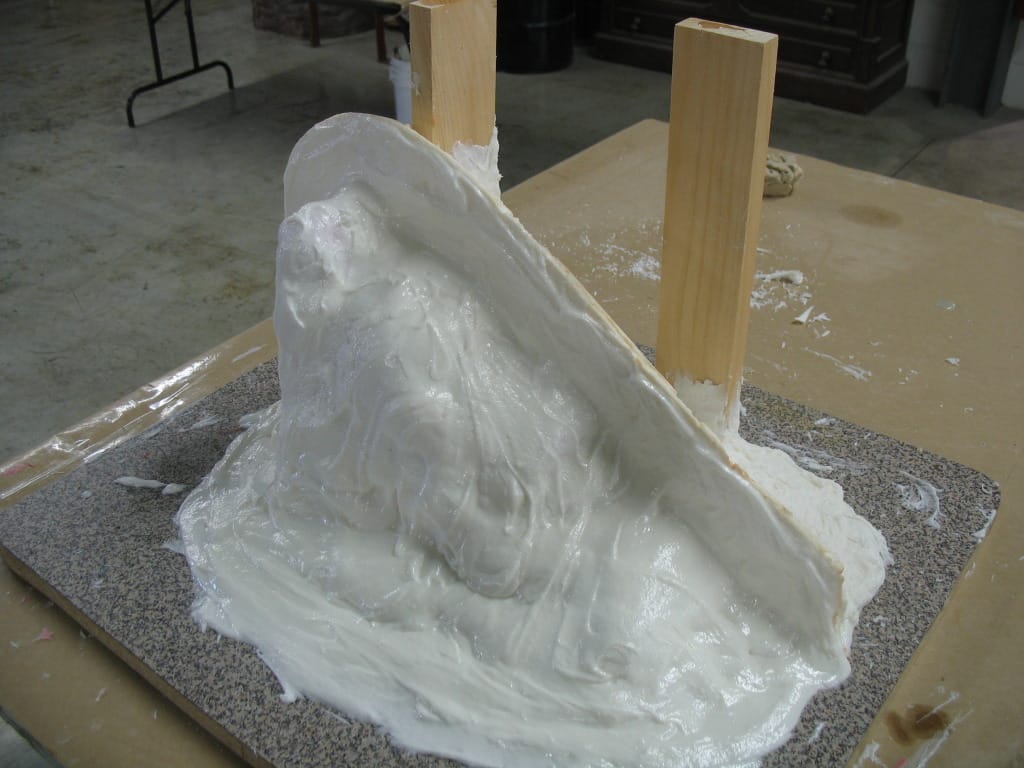
Add the wooden legs at the same height as the opposite side.
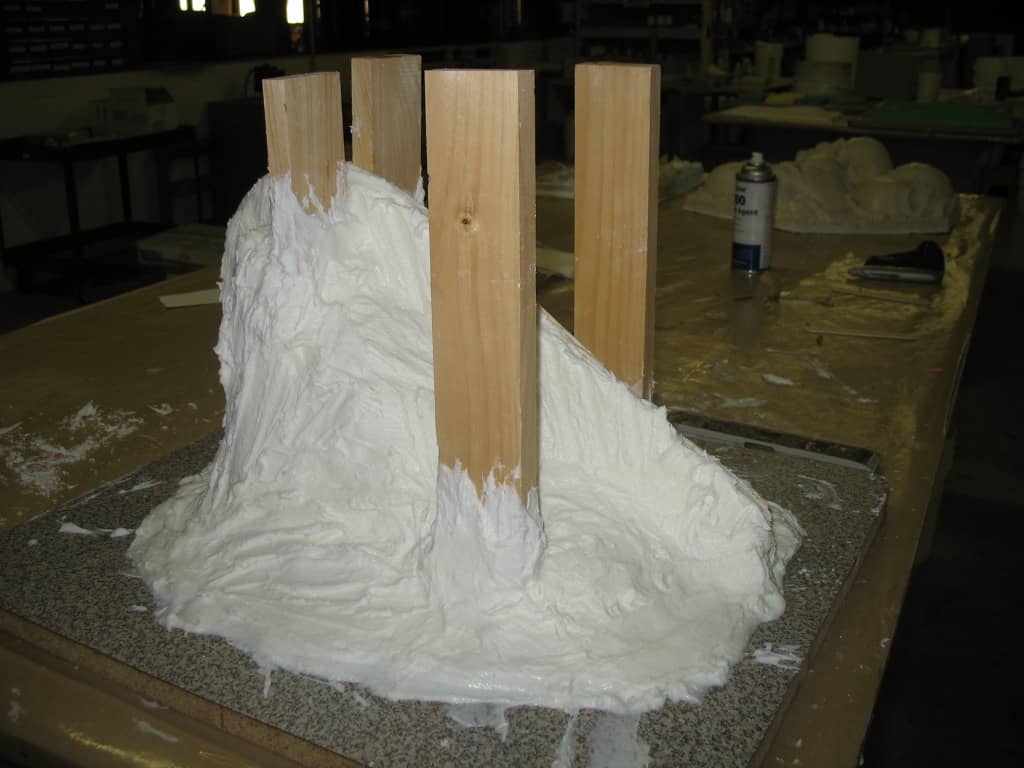
Once the shell has completely cured, drill holes and insert hardware (e.g., bolts, washers, nuts) through the mold shell flange (not pictured here) to secure the two sides together for casting later.
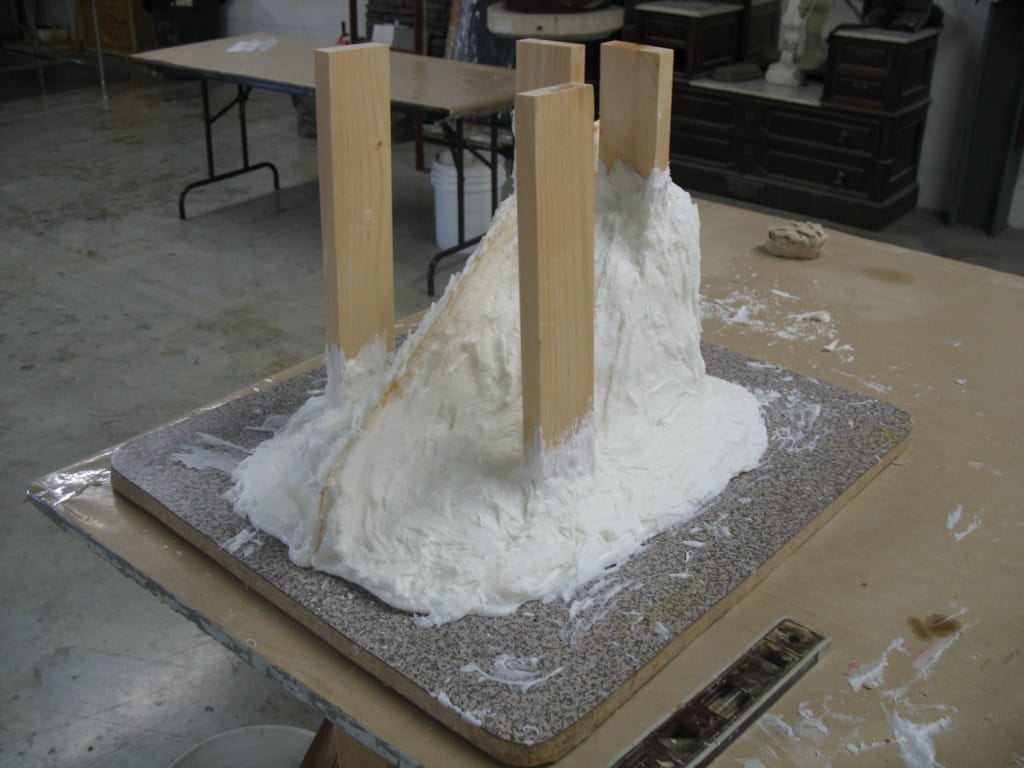
Carefully pry the mold shell off of the baseboard using a putty knife or crowbar – it’s best to loosen all edges before removing the entire thing. The edges of the plastic mold shell will be very sharp, so sanding is recommended.
Your mold is now ready for casting!
As mentioned previously, this mold was designed for casting concrete; however, numerous casting materials can be poured into polyurethane molds. This includes plaster, waxes and resins and foams (with use of the proper release agents).
Pictured below: A painted EasyFlo 60 Liquid Plastic casting made in the Polygel 35 mold.
